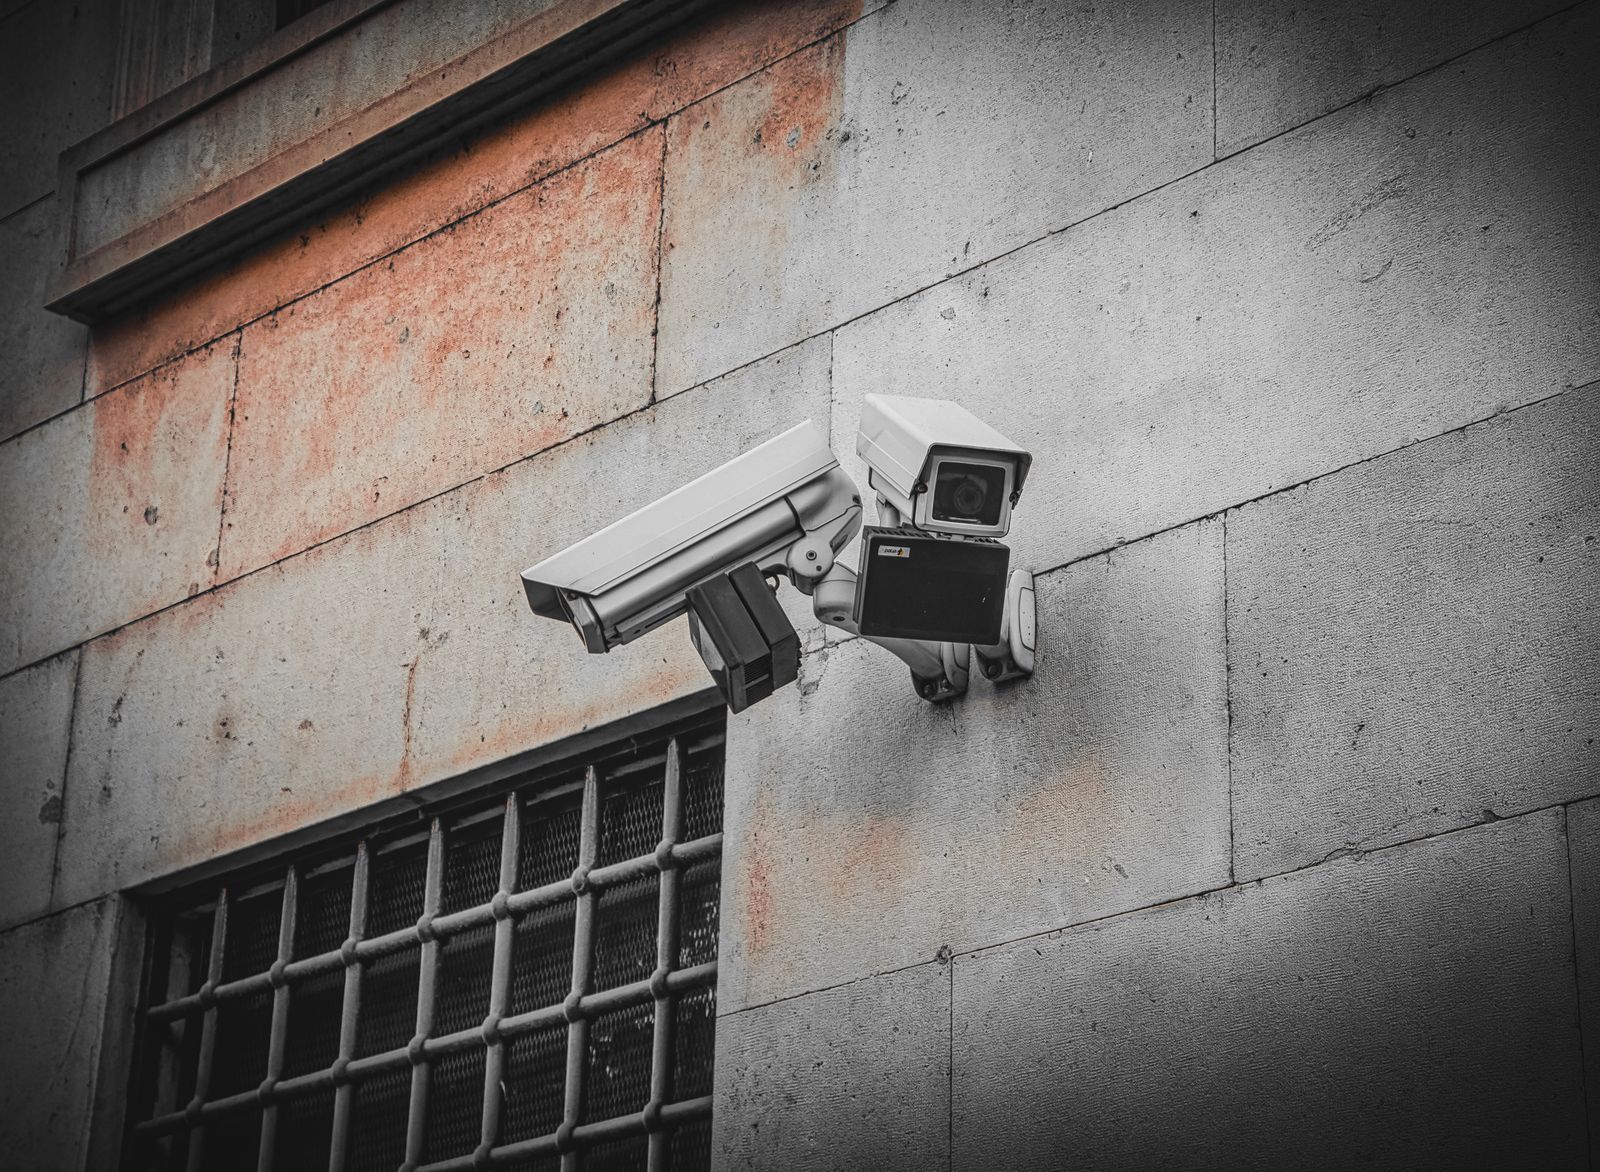
How to Replace Traditional Wired Security Cameras with Off-Grid Wireless Solar PTZ Packs
To replace wired security cameras with solar PTZ packs, safely disconnect the central power supply (PoE switch or BNC transformer), run parallel wireless testing to verify WiFi strength, cap legacy wiring in weatherproof junction boxes, and mount 360-degree solar PTZ units at high-exposure sunlight locations.
Pre-Decommissioning & Installation Preparation Checklist
- Verify existing WiFi strength (minimum -65 dBm) at all target outdoor mounting locations using a mobile signal auditor or smartphone app.
- Locate central power source (PoE switch or BNC transformer power strip) and switch off breaker before touching exterior wires.
- Gather outdoor-grade 100% silicone sealant, waterproof electrical wire caps, drill, ladder, and masonry anchors.
- Unbox Solar PTZ Camera Pack, insert rechargeable battery cells, and fully charge via USB power source prior to initial exterior mount.
- Confirm mobile app connectivity and pair all solar units while indoors near your router to establish stable firmware sync.
5-Step Strategy to Replace Hardwired Systems with Wireless Solar PTZ Camera Packs

Photo by TBD Traveller on Pexels
Transitioning from rigid hardwired CCTV or Power over Ethernet (PoE) systems to off-grid solar pan-tilt-zoom (PTZ) units requires a methodical approach. Follow this step-by-step process to maintain continuous perimeter protection throughout the upgrade.
Step 1: Perform WiFi Signal & Solar Exposure Audit
Before removing existing wired hardware, evaluate your property's 2.4GHz wireless range and solar radiation patterns. Stand directly beneath your current camera locations with a smartphone connected to your home or business network. Verify that the wireless signal strength remains stronger than -65 dBm. Next, inspect the rooflines, soffits, and nearby foliage. Ensure the planned camera or external solar panel location receives at least 3 to 4 hours of unobstructed, direct sunlight daily.Step 2: Unbox, Pair, and Pre-Charge Solar PTZ Units
Do not install cold hardware directly onto exterior walls. Unbox your multi-camera solar PTZ pack indoors. Connect each camera unit to a standard wall charger via USB for 6 to 8 hours to bring internal lithium batteries to 100% capacity. Download the dedicated management app, connect your phone to the 2.4GHz network, and pair each PTZ camera. Test pan-tilt rotation, color night vision LEDs, two-way audio, and motion detection triggers while sitting near the router.Step 3: Power Down Central Distribution & De-Energize Legacy Wires
Safety is paramount when handling low-voltage legacy wiring. Head indoors to your central security distribution hub—typically located near an attic, basement, or utility closet. Unplug the master power transformer for BNC/coaxial systems or disconnect the power cable supplying your PoE network switch. Never cut exterior camera leads while the transformer is actively plugged into an AC outlet. Once power is isolated, disconnect the cables from the back of the legacy DVR/NVR.Step 4: Dismount Old Hardware & Weatherproof Junction Penetrations
Unscrew old fixed-bracket cameras from exterior siding, trim, or brick. Carefully pull the low-voltage cable outward by a few inches, snip the copper wire tips, and apply waterproof electrical wire nut caps. Push the capped leads back into the wall cavity or junction box. Fill empty screw holes and cable wall penetrations with 100% exterior silicone sealant or masonry repair compound to prevent moisture intrusion, wood rot, or insect nesting.Step 5: Mount Solar PTZ Cameras & Calibrate Pan-Tilt Angles
Position the new mounting bracket over solid wall studs or use heavy-duty wall anchors. Secure the solar PTZ camera unit and orient the integrated or tethered solar panel facing South or Southwest at an upward angle of 30 to 45 degrees. Open the mobile app to activate live view mode. Utilize the 360-degree pan and tilt controls to align the view, set motion detection zones, and establish automated patrol presets to cover areas previously monitored by multiple static cameras.Expert Advice: Calculating PTZ Replacement Ratios & Angle Calibration
When converting from legacy fixed-lens CCTV systems to modern pan-tilt-zoom (PTZ) solar cameras, you rarely need a 1:1 camera replacement ratio. Traditional static cameras feature a fixed field of view ranging between 75 and 90 degrees. A single motor-driven PTZ camera delivers 355-degree horizontal panning and 90-degree vertical tilting. Consequently, one strategically positioned solar PTZ camera mounted on a building corner can easily cover two complete building elevation walls—effectively replacing two to three legacy fixed units while cutting physical mounting footprints in half.
Troubleshooting Common Conversion & Signal Challenges
| Symptom / Problem | Root Cause | Immediate Fix / Solution |
| --- | --- | --- |
| Weak or dropping WiFi signal at exterior mounting site | Distance from router, thick exterior masonry, or metal siding interference | Install an outdoor-rated 2.4GHz WiFi range extender or mesh node on the interior wall closest to the camera. |
| Solar PTZ battery drains rapidly despite sunlight exposure | Panel installed under roof eaves or set to high-sensitivity continuous motion recording | Adjust motion sensitivity down in the app, lengthen sleep delay, and tilt the solar panel south clear of eave shadows. |
| Water leaks or moisture marks around decommissioned camera mounts | Unsealed screw holes or unsealed legacy cable penetrations | Inject 100% exterior clear silicone sealant into hole cavities; apply exterior silicone caulk around junction edges. |
| Night vision image appears dark or grainy across large yards | Color night vision spotlights set to low brightness or motion distance too short | Enable dual-source infrared and white light mode in the app, and adjust PIR detection distance to maximum radius. |
Reconfiguring security infrastructure from wired backhauls to wireless solar networks can present localized environmental or network hurdles. Use this matrix to quickly identify and resolve common transition issues.
Key Takeaways for a Seamless Wired-to-Solar Migration
- Always disconnect central AC power transformers indoors before touching or cutting outdoor BNC/PoE cables.
- Pre-charge solar camera batteries via USB indoors to ensure full operational capacity before mounting.
- One pan-tilt-zoom (PTZ) solar unit replaces up to three legacy fixed-lens cameras due to 360-degree coverage.
- Thoroughly seal old exterior wall penetrations with 100% silicone caulk to prevent structural moisture damage.
- Perform a parallel WiFi audit at the camera site before permanently screwing mounting brackets into siding.
Is Replacing Hardwired Cameras with Solar PTZ Right for Your Property?
Switching from hardwired to solar PTZ camera packs is best for properties experiencing wire degradation, costly grid power runs, or outdated fixed-angle cameras.
Best choice for
- Multi-Pack Solar PTZ Camera System — Eliminates recabling costs while introducing mobile app controls and wide-angle pan-tilt coverage.
- Off-Grid Solar Camera Pack — Requires zero trenching or electrical conduit runs, powering units indefinitely via solar energy.
- Property is located in deep, 100% shade year-round with zero direct sunlight access for solar panels.
- Power over Ethernet (PoE) Recabling — Best for high-density indoor commercial facilities requiring central rack-mounted storage servers without local wireless constraints.
Recommended Off-Grid Upgrade Pack
Upgrading your outdoor security system no longer requires hiring expensive electricians or fishing cables through interior walls. For complete perimeter surveillance, consider the Outdoor Solar Security Camera (Pack) available at solarsafetycameras.com.
This system combines full 360-degree PTZ (Pan-Tilt-Zoom) functionality with total wireless flexibility. Equipped with high-efficiency monocrystalline solar panels, continuous lithium battery storage, color night vision, two-way audio communication, motion detection, and cloud/app control, it provides active property defense in any climate.
Side-by-Side: Legacy Hardwired CCTV/PoE vs. Off-Grid Solar PTZ Pack
| Feature / Capability | Legacy Hardwired (BNC / Coax / PoE) | Wireless Solar PTZ Camera Pack |
| --- | --- | --- |
| Installation Complexity | High (Trenching, wall fishing, interior conduit runs) | Low (100% DIY wire-free wall mount in under 15 minutes) |
| Field of View | Fixed 75° - 90° static cone (requires multiple cameras) | 355° Pan / 90° Tilt motorized wide-angle coverage |
| Power Independence | Grid-dependent (goes offline during localized blackout) | Self-sustaining off-grid solar power with battery backup |
| Remote Control & Audio | Passive monitoring, external audio wiring required | Real-time mobile app control, live PTZ pan, two-way talk |
| Night Vision Quality | Standard black & white infrared illuminators | Dual-mode full color night vision with LED spotlights |
Comparing structural, operational, and power requirements side-by-side demonstrates why off-grid solar PTZ packs are replacing legacy wired systems.
Architecture Diagram: Legacy Wired Loop vs. Off-Grid Solar Mesh

Photo by Jan van der Wolf on Pexels
Understanding how your security architecture changes when moving from centralized wired loops to independent off-grid solar nodes helps clarify installation requirements.
Critical Mistakes to Avoid When Removing Wired Security Systems
Avoid these common mistakes when converting your security setup from hardwired cables to off-grid solar hardware:
- Cutting Live Transformer Cables: Snapping coaxial or ethernet lines before unplugging the master power unit indoors can short out power splitters or create localized electrical hazards.
- Removing Old Cameras Before Testing WiFi: Never take down old functional units until you have tested wireless signal strength (-65 dBm or better) at the mounting target using your mobile device.
- Mounting Solar Panels Under Deep Eaves: Installing solar camera panels directly under deep soffits or porch roofs prevents direct sunlight hit, causing eventual battery depletion.
- Failing to Weatherproof Old Penetrations: Leaving open screw anchor holes or wire wall passthroughs invites rainwater, mold, and wall decay over time.
- Assuming Fixed Camera Angles Match PTZ Angles: Expecting a PTZ camera to cover identical zones without setting up app patrol points or adjusting motion sensitivity zones.
Parallel Testing & Transition Timeline (Zero Coverage Downtime)
- Phase 1 (Day 1 Morning) — Unbox Solar PTZ Camera Pack indoors. Connect units to USB power for initial full charge and pair all cameras with your smartphone app.
- Phase 2 (Day 1 Afternoon) — Perform outdoor site audit. Check WiFi strength and solar exposure at each target mounting position. Install solar PTZ units alongside old hardware.
- Phase 3 (Day 2 Morning) — Verify live video streams, PTZ motor responsiveness, motion alerts, and color night vision performance in app. Confirm full solar charging status.
- Phase 4 (Day 2 Afternoon) — Disconnect central indoor power supply for legacy DVR/PoE lines. Dismount old cameras, cap legacy leads, and seal exterior wall penetrations with silicone caulk.
Frequently Asked Questions About Converting to Solar PTZ Cameras
Answers to common questions regarding electrical decommissioning, wall repair, and signal range during camera replacement.
Immediate Action Plan for Your Security Upgrade
Your decision: Determine how many legacy fixed cameras can be replaced by 360-degree pan-tilt-zoom solar units on your property.
Do this next: Order an Outdoor Solar Security Camera Pack, perform a pre-install WiFi audit, and run parallel testing before removing old DVR cabling.
- Read next: Manage Multiple Outdoor Solar Cameras in a Single App
- Read next: Solar Security Camera Placement FAQ
Outdoor Solar Security Camera (Pack) with PTZ, Color Night Vision, and App Control.
Take these concrete steps to begin transitioning your security setup today.