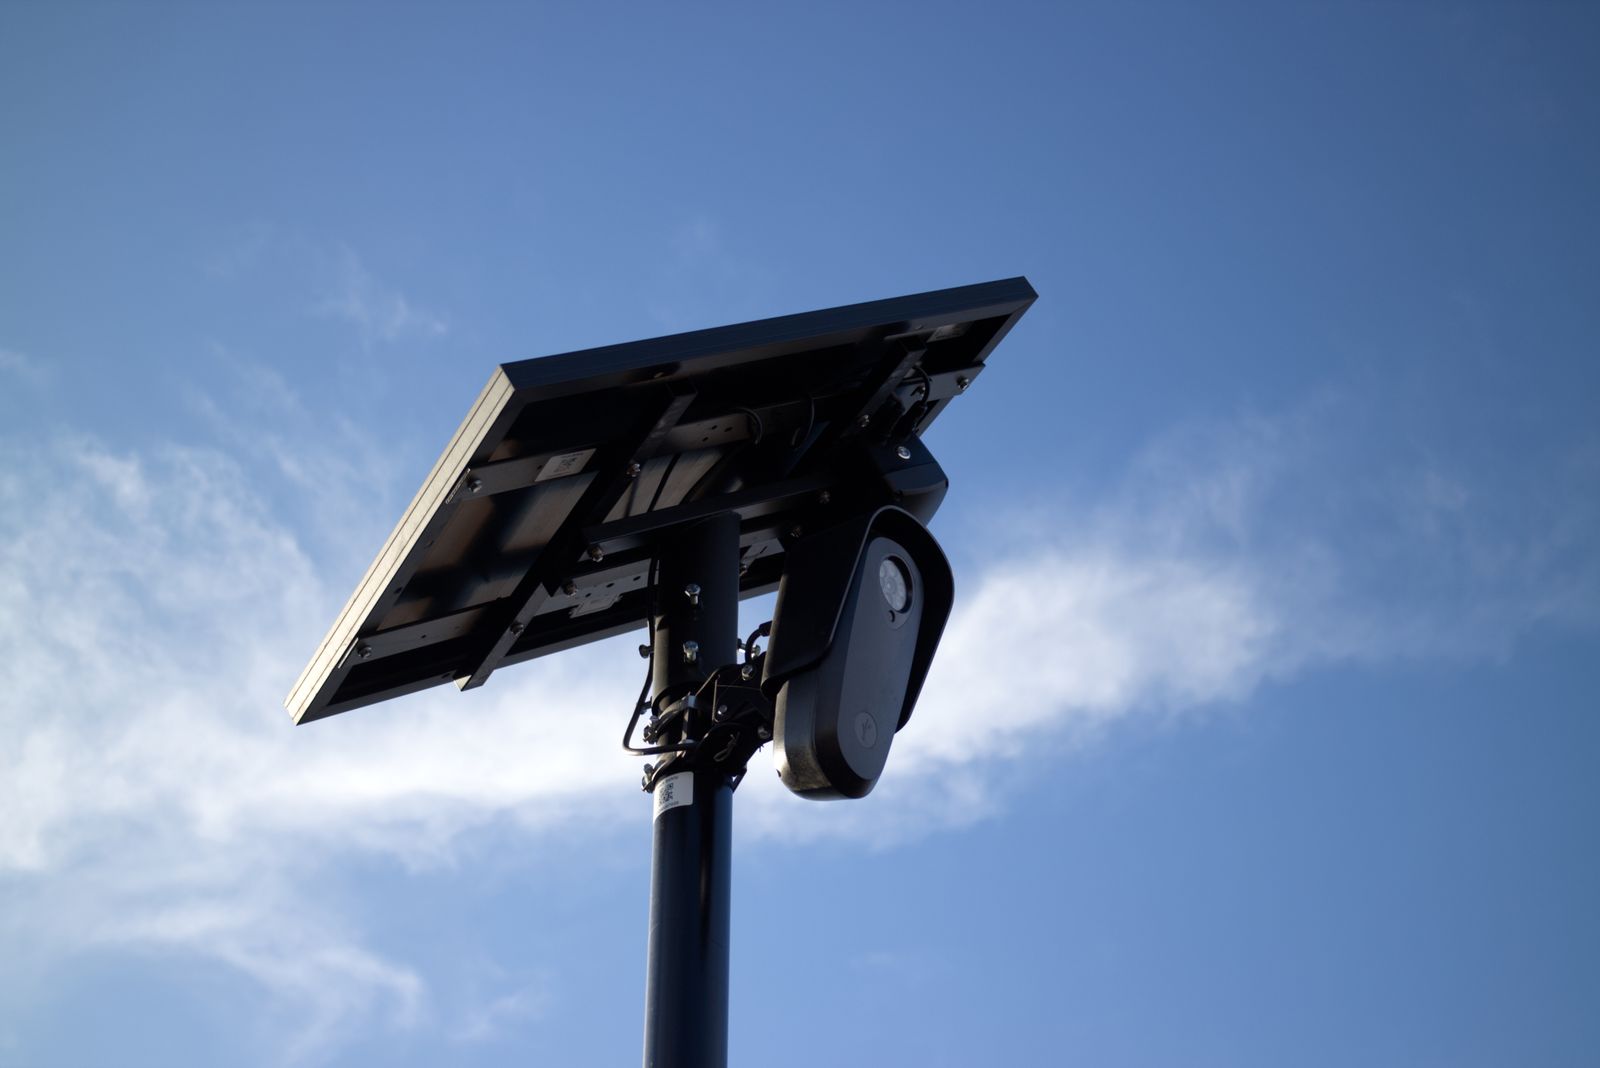
Troubleshooting Solar Security Camera WiFi Connection Issues: A Step-by-Step Guide
Is your solar security camera constantly going offline or failing to pair during setup? Most connection drops stem from router 5GHz band steering, low battery sleep modes (<20% charge), or exterior wall signal attenuation. To resolve this immediately: separate your router into a dedicated 2.4GHz SSID, bench-charge the camera via USB for 4 hours, and re-pair within 10 feet of your router before mounting outdoors.
Solar Camera WiFi Troubleshooting Flowchart
- Is the camera LED status indicator completely off or blinking red? → Yes: Battery is depleted below operational threshold (<20%). Remove camera, charge via USB-C cable for 4 hours, and re-check.. No: Proceed to network configuration check..
- Is your smartphone connected to a single dual-band WiFi network name (SSID) combining 2.4GHz and 5GHz? → Yes: Router band steering is forcing the camera onto 5GHz. Access router settings (192.168.1.1) and create a dedicated 2.4GHz SSID.. No: Proceed to signal attenuation check..
- Is the camera mounted more than 30 feet from the router or separated by brick/stucco walls? → Yes: Signal attenuation is dropping RSSI below -65 dBm. Install an outdoor mesh WiFi node or move router closer to exterior wall.. No: Perform full factory hardware reset and re-pair in app within 5 feet of router..
Failure Mode Diagnostic Matrix: Symptoms, Causes, and Solutions
Photo by Walter Cunha on Pexels
| Failure Mode | Root Cause | Indicator LED State | Resolution Step |
| --- | --- | --- | --- |
| Offline in App (Daytime) | 5GHz Band Steering / Smart Connect forcing camera onto unsupported 5GHz frequency during handshake. | Blinking Blue or Alternating Red/Blue | Disable Smart Connect in router settings. Connect phone strictly to dedicated 2.4GHz network name and re-pair. |
| Offline in App (Nighttime Only) | Low battery voltage (<3.5V). Infrared LEDs and color spotlights draw extra current, triggering WiFi chip power protection. | Solid Red or Unlit during night | Perform a 4-hour USB bench charge. Adjust solar panel tilt angle toward south to maximize daily direct sunlight. |
| Live Stream Freezes / PTZ Lag | High WiFi latency and weak RSSI (worse than -70 dBm) caused by stucco, wire mesh, or brick wall signal absorption. | Solid Blue (but slow responsive) | Relocate router closer to exterior wall or install a dedicated outdoor-rated mesh WiFi node within 20 feet. |
| Failed Initial QR Code Pairing | App missing local network permissions, or phone connected to 5GHz WiFi while generating pairing payload. | Blinking Red continuously | Enable 'Local Network' and 'Location' permissions in mobile app settings. Verify phone is on 2.4GHz WiFi band. |
| Intermittent Daily Disconnections | Co-channel WiFi interference from neighboring networks on channels 1, 6, or 11. | Flashing Blue randomly | Log into router admin panel and change 2.4GHz wireless channel selection from 'Auto' to a fixed channel (1 or 11). |
Identify your camera's exact failure mode below to pinpoint the underlying cause and apply the proven technical resolution.
Pro Tip: Distinguishing Low-Battery Sleep Mode from True WiFi Loss
Many homeowners misdiagnose low-battery shutdown as a permanent WiFi router failure. Microcontrollers inside wireless solar security cameras are programmed with strict low-voltage cutoff thresholds. When internal lithium battery charge falls below 15-20% (approx. 3.55V), the system intentionally disables high-draw hardware—specifically the 2.4GHz WiFi radio and motorized PTZ (Pan-Tilt-Zoom) gears—to reserve power for basic system logic.
Before reconfiguring your router or tearing down wireless access points, always perform a mandatory USB Bench Test: unmount the camera, plug it into a 5V/2A wall charger indoors for at least 4 hours, and observe if the WiFi reconnects automatically. If it does, your issue is solar harvesting efficiency rather than wireless signal decay.
Diagnostic Decision Tree: Is It Signal, Hardware, or Router Configuration?
- Does the camera stay connected when brought indoors within 10 feet of the router? → Yes: Hardware and credentials are valid. The issue is outdoor signal attenuation or low solar charging at the mounting spot.. No: The issue is local router configuration, network frequency compatibility, or app permission blocks.
- Is the exterior wall made of brick, concrete, wire-mesh stucco, or low-E glass? → Yes: High physical attenuation (dropping signal by -10 to -15 dBm). Add an outdoor mesh node on the interior side of that wall.. No: Check solar panel exposure. Ensure panel receives minimum 3 to 4 hours of unshaded direct sunlight daily.
Immediate Diagnostic Actions to Take Right Now
Your decision: Determine whether your camera failure is power-related or network-related.
Do this next: Perform a 4-hour USB bench charge and split your router to a dedicated 2.4GHz SSID.
Related resource: Test your property coverage before final hardware installation.
If your existing camera suffers from weak wireless range or dead batteries, upgrade to our high-gain Outdoor Solar Security Camera Pack.
Take these three immediate steps to restore your camera stream before attempting complex network reconfigurations:
Recommended Solution: High-Gain Outdoor Solar Security Camera Pack
If your current surveillance hardware repeatedly drops signal or lacks the transmission strength needed to penetrate thick exterior walls, consider upgrading to an outdoor surveillance system engineered specifically for long-range 2.4GHz penetration and continuous solar charging.
The Outdoor Solar Security Camera (Pack) features enhanced long-range wireless WiFi antennas, 360-degree PTZ (Pan-Tilt-Zoom) coverage, crisp color night vision, and two-way audio communication. Designed with ultra-low-power sleep architectures and heavy-duty solar harvesting, it ensures your perimeter stays monitored around the clock without sudden voltage dropouts.
Explore the Outdoor Solar Security Camera Pack
Key Outdoor WiFi Connectivity Rules for Solar Cameras
- 2.4GHz Band Required: Solar camera microcontrollers exclusively support 2.4GHz WiFi frequencies due to lower power consumption and superior wall penetration compared to 5GHz.
- Beware of Band Steering: Router features like 'Smart Connect' or 'Band Steering' combine 2.4GHz and 5GHz under one SSID, causing pairing handshakes to drop.
- Nighttime Power Drain: Infrared spotlights and motorized PTZ tracking draw peak battery current at night. Low solar harvest during the day leads to nighttime WiFi power shutoffs.
- Physical Signal Loss: Exterior materials like wire-mesh stucco (-15 dBm loss) and Low-E glass (-12 dBm loss) drastically reduce outdoor WiFi range.
- RSSI Threshold: Ensure signal strength at the camera installation location measures -65 dBm or better for smooth live video and PTZ response.
Step-by-Step Connection Recovery Guide
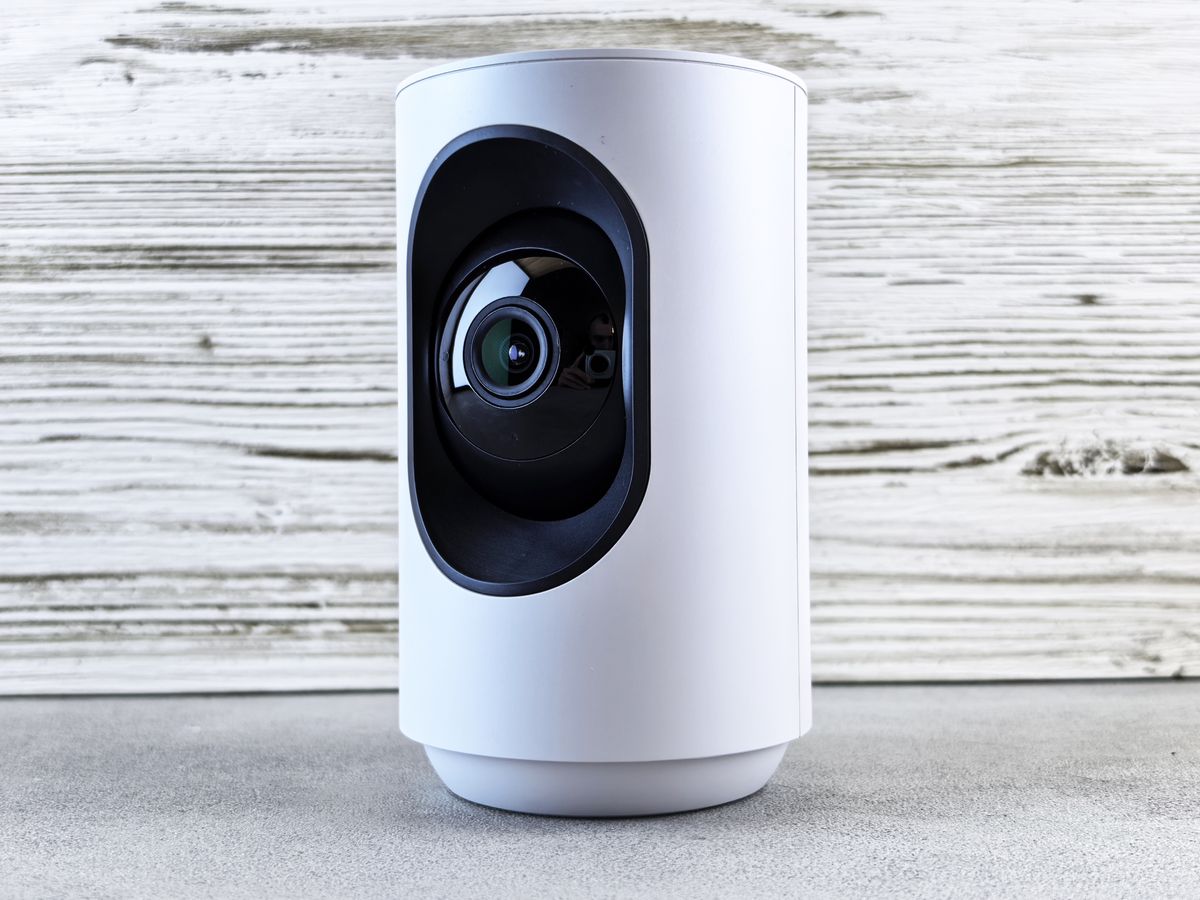
Photo by Andrey Matveev on Pexels
Follow this definitive step-by-step procedure to resolve connection failures, re-pair your camera, and secure a rock-solid wireless link.
Common Setup and Placement Pitfalls to Avoid
Avoid these three frequent mistakes made during outdoor solar security camera installation:
Frequently Asked Questions About Solar Camera Connectivity
Find clear, expert answers to common questions regarding outdoor solar camera network requirements.
Related Troubleshooting & Power Resources
- Can an Outdoor Solar Security Camera work without WiFi?
- Deploying Outdoor Solar Security Camera Systems Without Wifi
- Outdoor Solar Security Camera WiFi Requirements FAQ: Speed, Range, and Bandwidth
Next Steps for Maintaining Continuous Surveillance Coverage
Your decision: Determine whether your camera offline status is resolved by router configuration or requires hardware repositioning.
Do this next: Perform a 4-hour USB bench charge, split your router to a dedicated 2.4GHz SSID, and complete re-pairing within 10 feet of your router before re-mounting outside.
Related resource: Download our printable Outdoor WiFi Signal Coverage Checklist to test your property before permanent camera mounting.
If your camera hardware is damaged or lacks range, upgrade to the Outdoor Solar Security Camera Pack with enhanced 2.4GHz signal penetration and 360-degree PTZ coverage.
Once you have successfully restored your camera's WiFi link, perform regular solar panel cleaning every 3 to 6 months and monitor battery health levels in your app during seasonal daylight changes.
Cover photo by Will Freeman on Pexels.