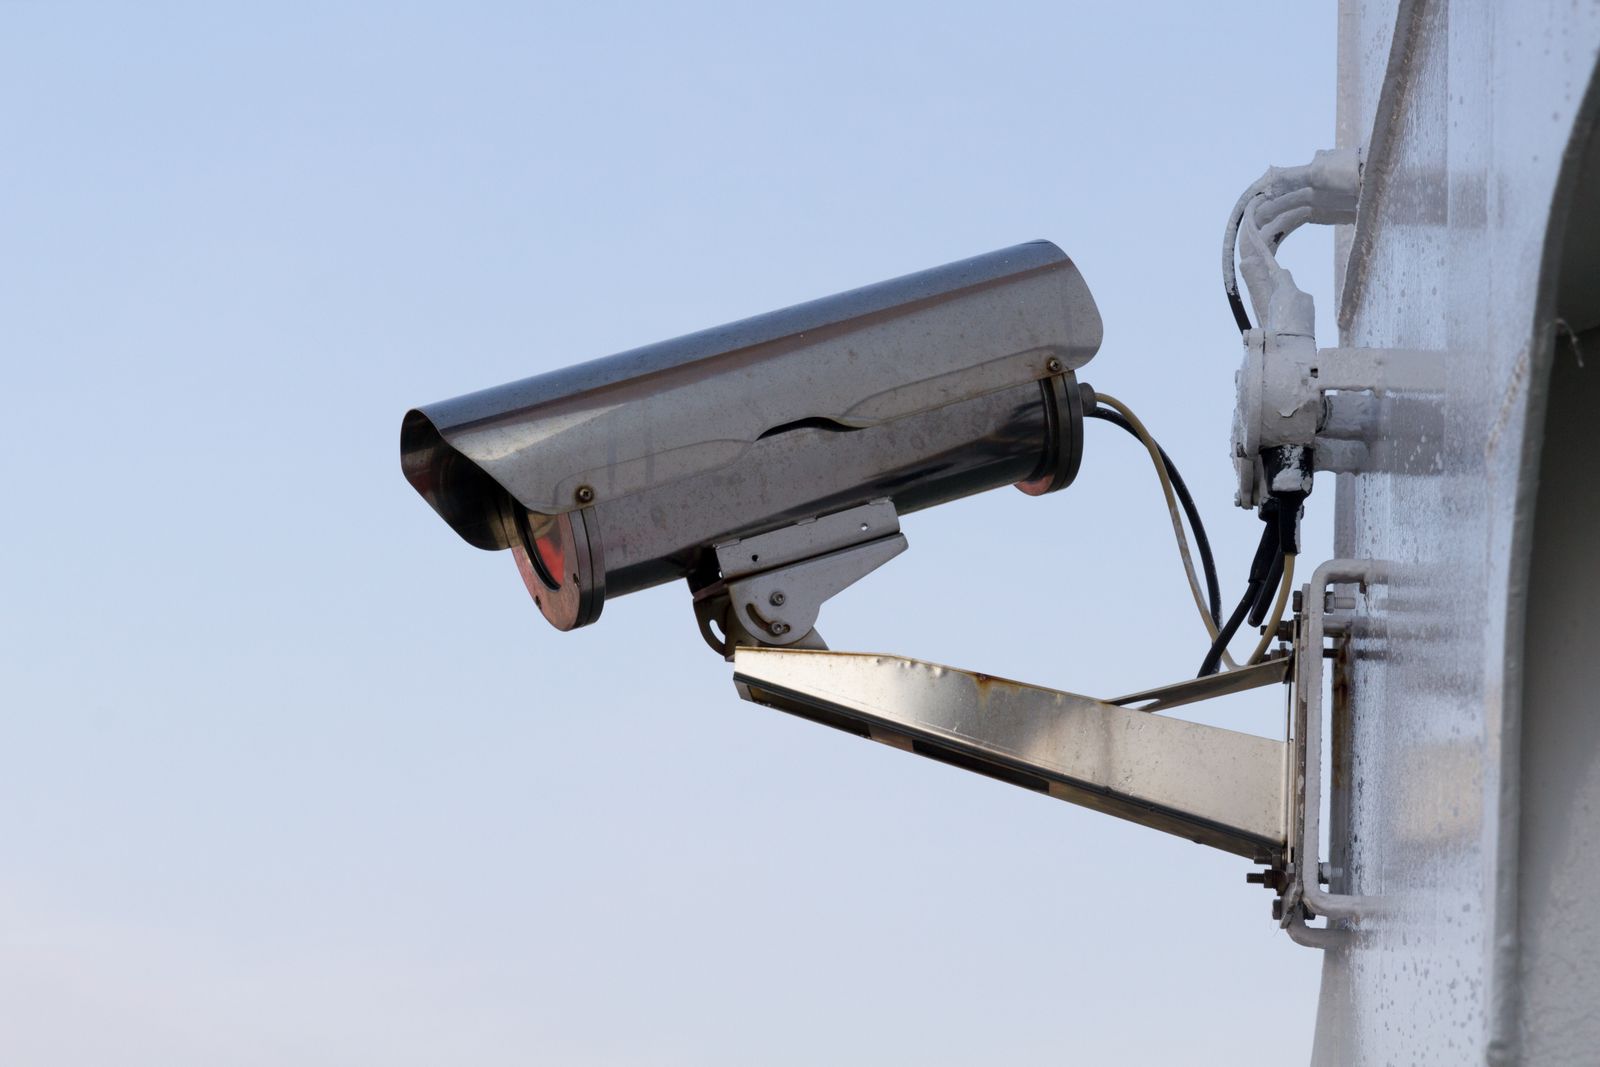
Where and How High to Mount Outdoor Security Cameras for Maximum Coverage
Most outdoor security cameras belong between 8 and 10 feet above the ground, tilted down roughly 15 to 30 degrees, and aimed so the widest part of the frame covers the path a person must walk to reach a door, gate, or vehicle. Below 8 feet the camera is within arm's reach of anyone who wants to cover the lens. Above about 12 feet, faces flatten into the tops of heads, which is the most common reason a homeowner ends up with footage that proves an incident happened but identifies nobody.
Mounting height is not a single number, though. It shifts with what the camera is watching, how far away the subject will be, and whether the unit can pan and tilt after installation. Here is how to decide before anything gets drilled.
What is the best height to mount an outdoor security camera?
Eight to ten feet is the working range for residential exteriors, and it is a compromise between two competing goals.
- Identification wants the camera low and close. The nearer the lens sits to eye level, the more of a face it captures and the fewer pixels get wasted on the ground and the roofline.
- Coverage and tamper resistance want the camera high. Height widens the visible area, keeps the lens out of reach, and reduces the chance of a passing branch or delivery van blocking the view.
A pan-tilt-zoom camera changes this calculation in your favor. Because the PTZ mechanism lets you re-aim the camera from the app after it is installed, you are not locked into the exact framing you guessed at while standing on a ladder. That means you can prioritize a solid, sunlit, well-anchored mounting point and then dial in the actual view remotely. A fixed-lens camera gives you no such second chance, which is why fixed cameras have to be aimed far more carefully at install time.
Why does mounting a camera too high ruin identification?
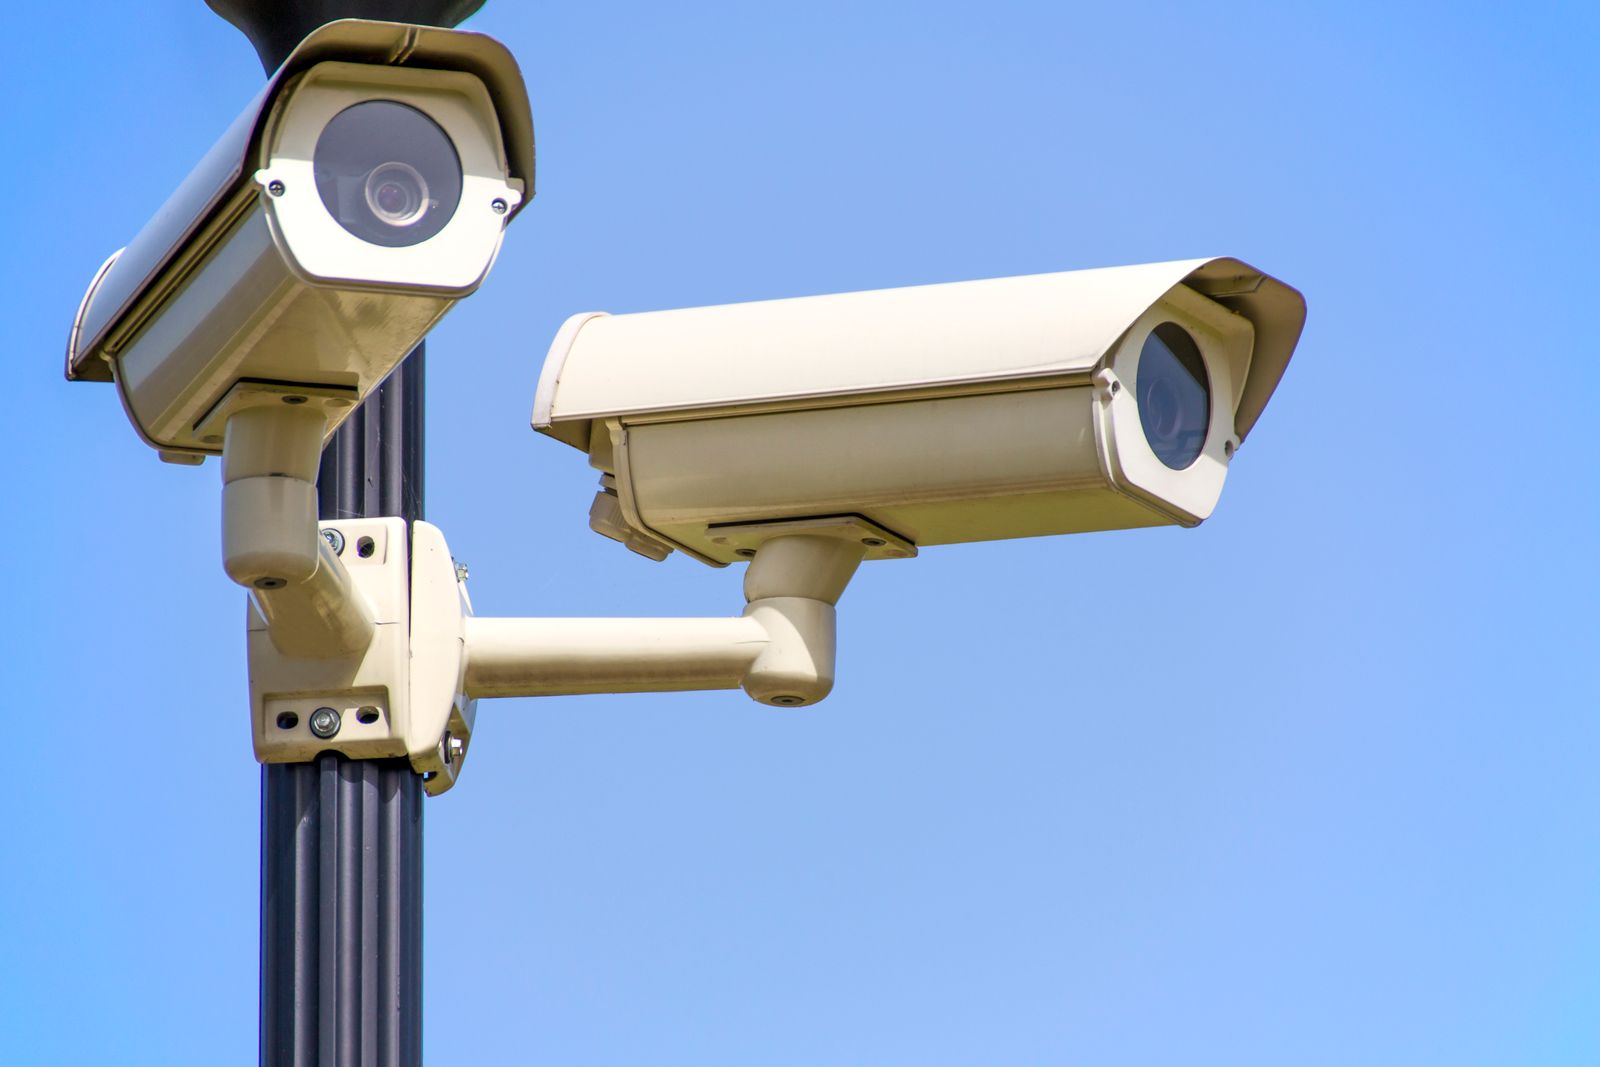
Photo by AS Photography on Pexels
The problem is the downward angle onto the face. A camera 15 feet up looking at someone standing 6 feet away is looking almost straight down at a scalp, a jacket, and a hat brim. There is no nose, no jawline, and no eye spacing, which are the features that make a still frame recognizable to a person or useful to police.
A practical rule: keep the vertical angle between the lens and the subject's face under about 30 degrees at the distance where you most want an identification. At 9 feet of height, that puts your identification zone roughly 6 feet out and beyond, which lines up naturally with a walkway or the last few steps to a front door.
The same physics works against extreme wide framing. A camera set high and pointed at the whole yard spreads its resolution across a huge area, so a person 40 feet away occupies very few pixels. This is where zoom earns its place: rather than trying to frame everything tightly at once, set a wide default view for detecting movement and use zoom to pull in on whatever the motion detection flags.
How high is high enough to stop tampering?
An average adult can reach about 7.5 feet flat-footed and closer to 9 feet with a jump. Mounting at 10 feet does not make a camera untouchable, but it means anyone interfering with it has to bring a ladder, stand on something, or throw something, and all of those take time and look obvious on camera.
Two placement habits help more than raw height:
- Put cameras where they watch each other. A second camera covering the approach to the first one means tampering with either gets recorded.
- Keep the mount away from climbable objects. A camera at 10 feet directly above a fence rail, an air conditioning condenser, a planter wall, or a trash enclosure is effectively at 6 feet.
Where to aim: choke points beat wide sweeps
Coverage is decided by aim far more than by height. Almost every property has three or four places a person has to pass through, and those choke points are where cameras belong.
- The driveway apron and the walk from the street to the front door
- The gate or side path between the house and the fence line
- The back slider or patio door, which is the most common forced-entry point on a suburban house
- Any detached structure worth stealing from, such as a garage side door or a shed
For a solar camera there is a second aiming constraint: the panel needs the sun and the lens needs the subject, and those two directions are not always the same. Getting both right is easier when the panel can be angled independently of the camera body, and it helps to understand how a solar camera turns sunlight into stored power before committing to a wall.
A step-by-step way to pick the spot before you drill
Doing the live-view test first is what separates a one-hour install from a weekend of re-drilling. The same sequence is covered in more depth in this walkthrough on getting a solar camera installed without hardwiring.
Height and aim by location
Photo by Łukasz Klimkiewicz on Pexels
| Location | Suggested height | Downward tilt | What the frame should contain | |---|---|---|---| | Front door or porch | 8–9 ft | 20–30° | The doormat plus the last 10 feet of walkway | | Driveway | 9–10 ft | 15–20° | The full length of the drive, looking toward the street | | Side gate or path | 8–9 ft | 20–25° | The gate latch and the path on both sides | | Back patio or slider | 9–10 ft | 15–25° | The door, the patio, and the fence gate behind it | | Detached garage or shed | 9–10 ft | 15–20° | The service door and the approach to it | | Wide yard or acreage view | 10–12 ft | 10–15° | A default wide view, with zoom held for detail |
Mounting to brick, vinyl siding, stucco, and wood
The surface decides the fastener, and getting it wrong is how cameras end up sagging or pulling loose.
- Brick or block: drill into the mortar joint, not the face of the brick, using a masonry bit and plastic or sleeve anchors. Mortar is softer, easier to patch later, and holds a sleeve anchor well.
- Vinyl siding: never let the bracket compress the siding flat. Use a no-hole siding hook where the design allows it, or drill through the siding into the sheathing and a stud, then seal the penetration. Vinyl expands and contracts with temperature, so a hard-clamped bracket will crack it.
- Stucco: predrill with a masonry bit and use anchors rated for stucco or, better, hit the framing behind it. Seal every hole, since water behind stucco causes damage you will not see for years.
- Wood fascia, trim, or siding: the easiest surface. Use exterior-rated screws into solid wood, and avoid the thin edge of a fascia board where the screw can split it.
- Metal pole or post: use a stainless band clamp or a purpose-made pole bracket. Do not rely on adhesive.
FAQ
Does mounting height affect motion detection? Yes. A higher camera sees more area, so motion detection has more to react to, including the street and the neighbor's yard. After mounting high, tighten the detection zone in the app so alerts come from your property rather than passing traffic.
Should the camera face the street or away from it? Along the approach is usually best. A camera pointed straight at a public street collects headlight glare at night and constant motion during the day. Angling it down the driveway captures anyone who actually turns in.
Is it better to mount under a soffit or on an open wall? A soffit gives shade and rain protection for the camera body, which is good for the lens, but shade is bad for a solar panel. A common answer is a wall mount for the camera with the panel positioned out in open sun, which keeps both parts working well.
Will two-way audio still be usable at 10 feet? Yes, though anyone you speak to will look up rather than at the lens. If the point of the camera is to talk to delivery drivers at a specific door, mounting nearer 8 feet keeps the conversation at a normal distance and makes the speaker easier to hear.
What to do next
Pick your two highest-value angles first, usually the front approach and whichever back or side door is least visible from the street, and install those before adding coverage anywhere else. Test each one with a live walk-through in the app, then adjust pan and tilt until a person is clearly framed for at least three seconds of their approach. If driveways are your main concern, this breakdown of motion detection settings for driveway coverage is a useful follow-up before you finalize your alert zones.
Cover photo by Pixabay on Pexels.