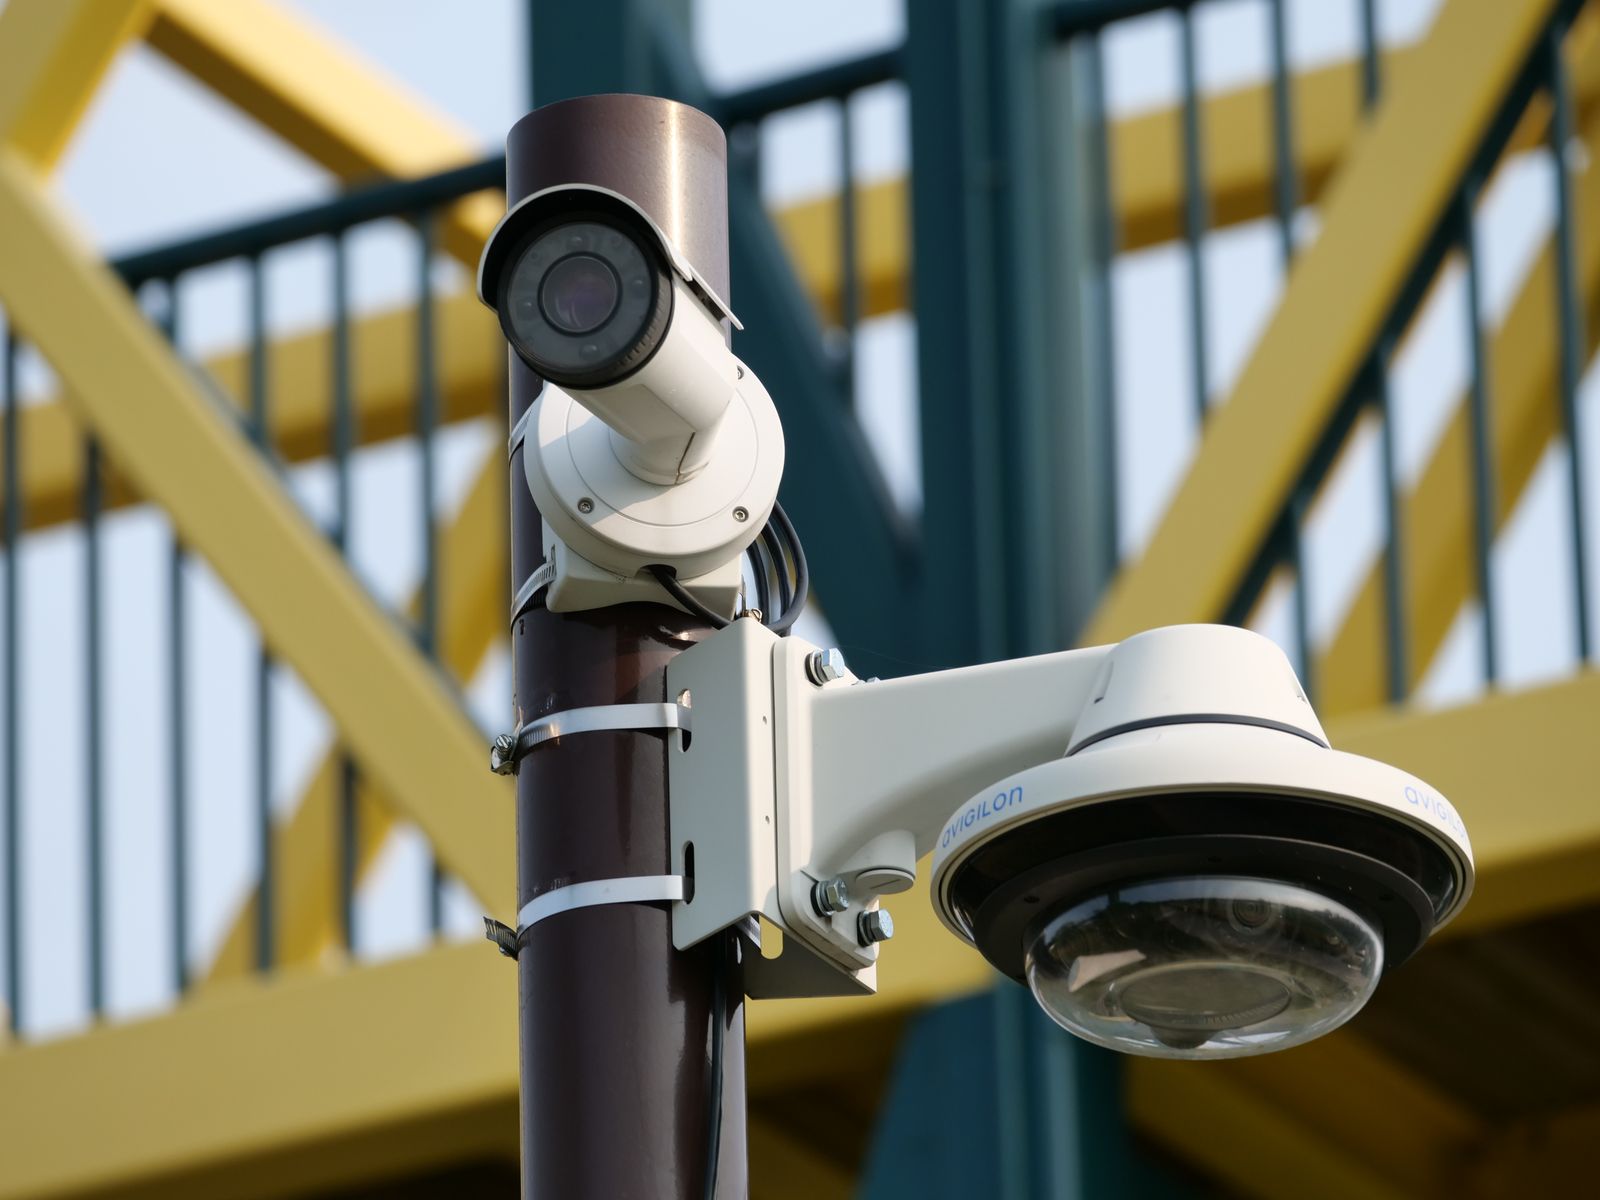
Optimal Mounting Height and Angle Guide for Outdoor PTZ Cameras
The optimal mounting height for outdoor PTZ security cameras is 8 to 10 feet (2.4 to 3 meters) above the ground, angled downward between 15° and 30°. This placement provides clear facial recognition up to 30 feet, prevents vandalism, optimizes PIR motion detection, and maintains clear solar panel exposure.
Pre-Installation Tool & Position Readiness Checklist
- Measure wall elevation with a tape measure to mark the 8-10 ft optimal zone.
- Check Wi-Fi signal strength at the target mounting height using the camera mobile app.
- Verify direct sunlight exposure at the mounting location for at least 3-4 hours daily.
- Confirm the mounting surface has proper anchors (masonry plugs for brick, siding hooks for vinyl).
- Inspect soffits and eaves to ensure they will not obstruct the PTZ camera's 355° pan arc.
- Ensure the camera angle will not point directly into neighboring property windows or public street lights that cause glare.
Step-by-Step Guide: Measuring, Positioning, and Mounting Your Solar PTZ Camera
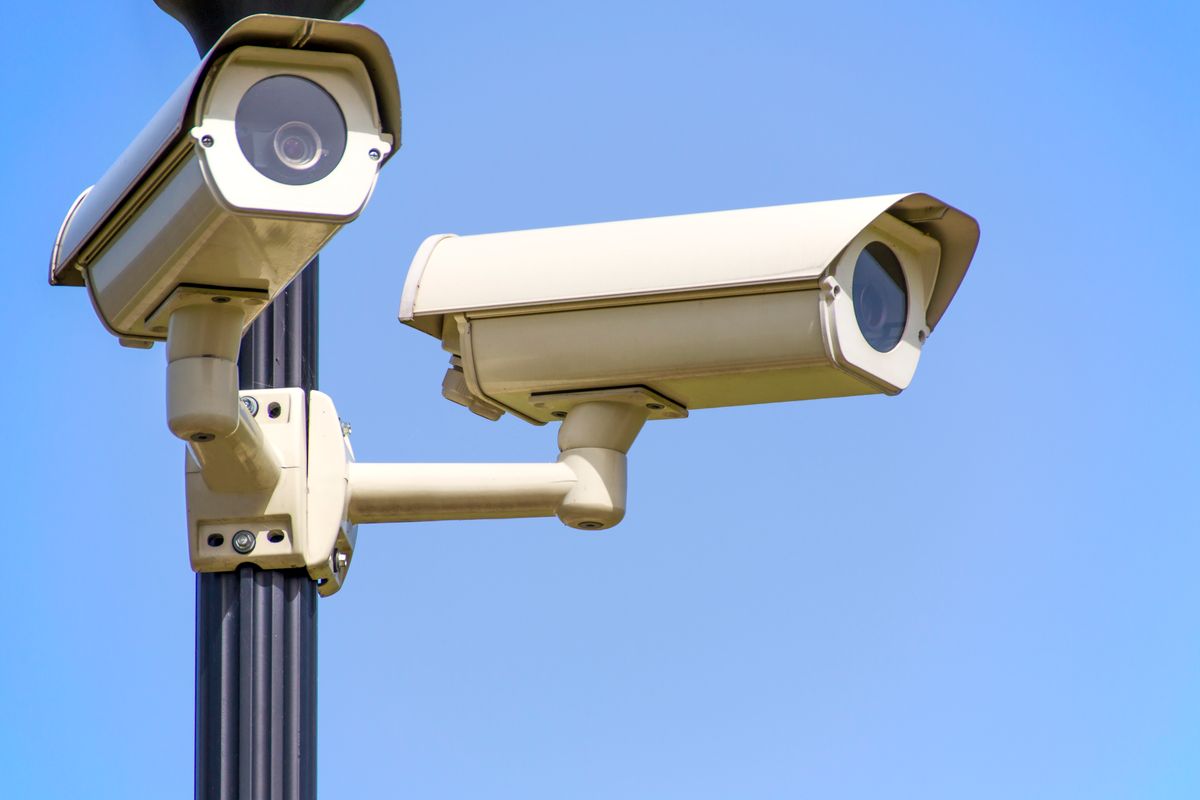
Photo by AS Photography on Pexels
Step 1: Mark the 8–10 Foot Elevation Baseline
Using a tape measure and level, mark a point between 8 and 10 feet (2.4 to 3.0 meters) above ground level on your target exterior wall or corner. This height positions the camera just above human reach—shielding it from physical tampering or vandalism—while preserving a shallow downward line of sight necessary to capture distinct facial features rather than the tops of hats or heads.Step 2: Test Wi-Fi Signal and Solar Line of Sight
Before drilling pilot holes, hold your PTZ camera at the marked elevation and launch the dedicated mobile app. Verify that your wireless Wi-Fi connectivity shows an RSSI (Received Signal Strength Indicator) better than -65 dBm for smooth high-definition streaming and fast pan-tilt commands. Simultaneously, inspect the roofline to confirm the mounting position receives at least 3 to 4 hours of unshaded direct sunlight daily.Step 3: Set Downward Tilt Angle (15° to 30°) and Verify PTZ Rotation
Attach the mounting bracket loosely and adjust the lens pitch downward to an angle between 15° and 30°. This specific incline ensures the passive infrared (PIR) motion sensor cone sweeps across human approach zones up to 30 feet out. Execute a full 355° pan and 90° tilt via the app to confirm that nearby gutters, trim, or soffit overhangs do not physically block the camera body during motorized rotation.Step 4: Anchor the Bracket, Calibrate Night Vision, and Position Solar Panel
Drill pilot holes suited for your surface material—using plastic anchors for stucco/masonry or direct wood screws into structural studs behind vinyl siding. Secure the bracket, mount the camera, and connect the adjustable solar panel angled toward the southern sky (in the Northern Hemisphere) at approximately 30° to 45°. Finally, perform a night walk-test in the app to calibrate color night vision triggers and verify two-way audio clarity.Placement Decision Tree: Choosing Mounting Hardware Based on Elevation & Surface
- Are you mounting directly onto flat brick, wood, or stucco at 8–10 feet? → Yes: Use standard heavy-duty wall anchors and mount the camera with a 15°–20° downward tilt.. No: Proceed to evaluate soffit, siding, or sloped ground options.
- Is the mounting location beneath an overhanging soffit or eave? → Yes: Use an extended arm wall bracket to drop the PTZ body below the trim, and position the solar panel above the roofline.. No: Evaluate ground elevation and slope.
- Does the target area (such as a driveway) slope upward away from the wall? → Yes: Decrease downward tilt to 10°–15° to keep the lens parallel with the ground incline.. No: Mount at 8–10 feet with 20°–30° downward tilt for standard flat terrain coverage.
Mounting Height vs Visual Outcome Reference Matrix
| Height Bracket | Facial Detail Capture | Vandalism / Tamper Risk | PIR Motion Range | Solar Line of Sight |
| --- | --- | --- | --- | --- |
| Low (6–7 ft) | High facial detail; clear eye-level perspective | High risk; easily reached or covered by intruders | Shortened ground cone (10–15 ft range) | Frequently blocked by low fences or foliage |
| Optimal (8–10 ft) | Excellent facial recognition up to 30 ft at 15°–30° pitch | Low risk; out of arm's reach while accessible for maintenance | Full coverage cone (25–30 ft detection radius) | Unobstructed exposure to direct equatorial sunlight |
| High (11–14 ft) | Moderate to poor; captures tops of heads/hats | Very low risk of direct physical tampering | Reduced sensitivity; requires wider PIR beam angles | Excellent sun exposure, but higher wind vibration |
| Second Story (15+ ft) | Poor facial clarity; useful only for vehicle tracking | Zero physical access risk | Severe motion detection gaps directly below lens | Maximum solar exposure; difficult physical maintenance |
Key Placement Rules to Remember
- Maintain the 8–10 Ft Range: Keeps the camera safe from grab-and-go vandalism while capturing actionable eye-level facial details.
- Keep Incline Between 15° and 30°: Steeper angles (>30°) severely compress motion detection distance and produce unusable 'hat-cam' footage.
- Clear the 355° PTZ Pan Arc: Ensure wall trim, drainpipes, and soffits do not jam or obstruct motorized pan-tilt movement.
- Separate Solar Orientation: Point solar panels toward the equator (South in North America) angled at 30°–45° for year-round trickle charging.
- Verify Wi-Fi Before Final Drilling: Always test app connectivity, live video latency, and cloud storage uploads at the precise mounting height.
Recommended Outdoor Hardware for Flexible Mounting
For total perimeter defense without wiring headaches, equip your property with the Outdoor Solar Security Camera (Pack) available at solarsafetycameras.com. Engineered specifically for versatile outdoor installation, each unit features full Pan-Tilt-Zoom (PTZ) motion control, wireless Wi-Fi setup, vivid color night vision in complete darkness, two-way audio communication, and secure cloud storage backup.
Whether protecting a residential driveway, commercial storefront, or remote office yard, managing your system is seamless through the dedicated mobile app. The integrated continuous solar harvesting system ensures your cameras stay powered year-round without dismounting batteries.
Visualizing Field-of-View, PIR Sweep, and Solar Harvesting Angles
5 Critical Camera Mounting Pitfalls (and How to Avoid Them)
Photo by Łukasz Klimkiewicz on Pexels
Installation & Angle Testing Workflow Timeline
- Minutes 0–10 — Conduct site inspection, measure 8–10 ft height, and verify Wi-Fi RSSI signal strength via app.
- Minutes 10–20 — Drill pilot holes, secure wall mounting anchor plate, and dry-fit the camera bracket.
- Minutes 20–35 — Perform live-view walking test to verify 15°–30° pitch angle, PIR motion alerts, and facial clarity.
- Minutes 35–45 — Mount the separate solar panel pointing South at a 30°–45° tilt and secure waterproof cables.
- Minutes 45–60 — Finalize app configuration, set PTZ preset patrol points, and activate cloud backup storage.
Frequently Asked Questions About Camera Height & Pitch
Next Steps for Completing Your Security Setup
Your decision: Decide on your exact mounting point (8-10 ft high) and confirm unshaded solar exposure between 10 AM and 2 PM.
Do this next: Mount the camera bracket loosely, open the mobile app live view, and perform a walking test before tightening the final screws.
Related resource: Download our printable Mounting Template & Angle Calibration Card.
For complete coverage without blind spots, install the Outdoor Solar Security Camera (Pack) equipped with PTZ pan-tilt control, color night vision, and continuous solar charging.