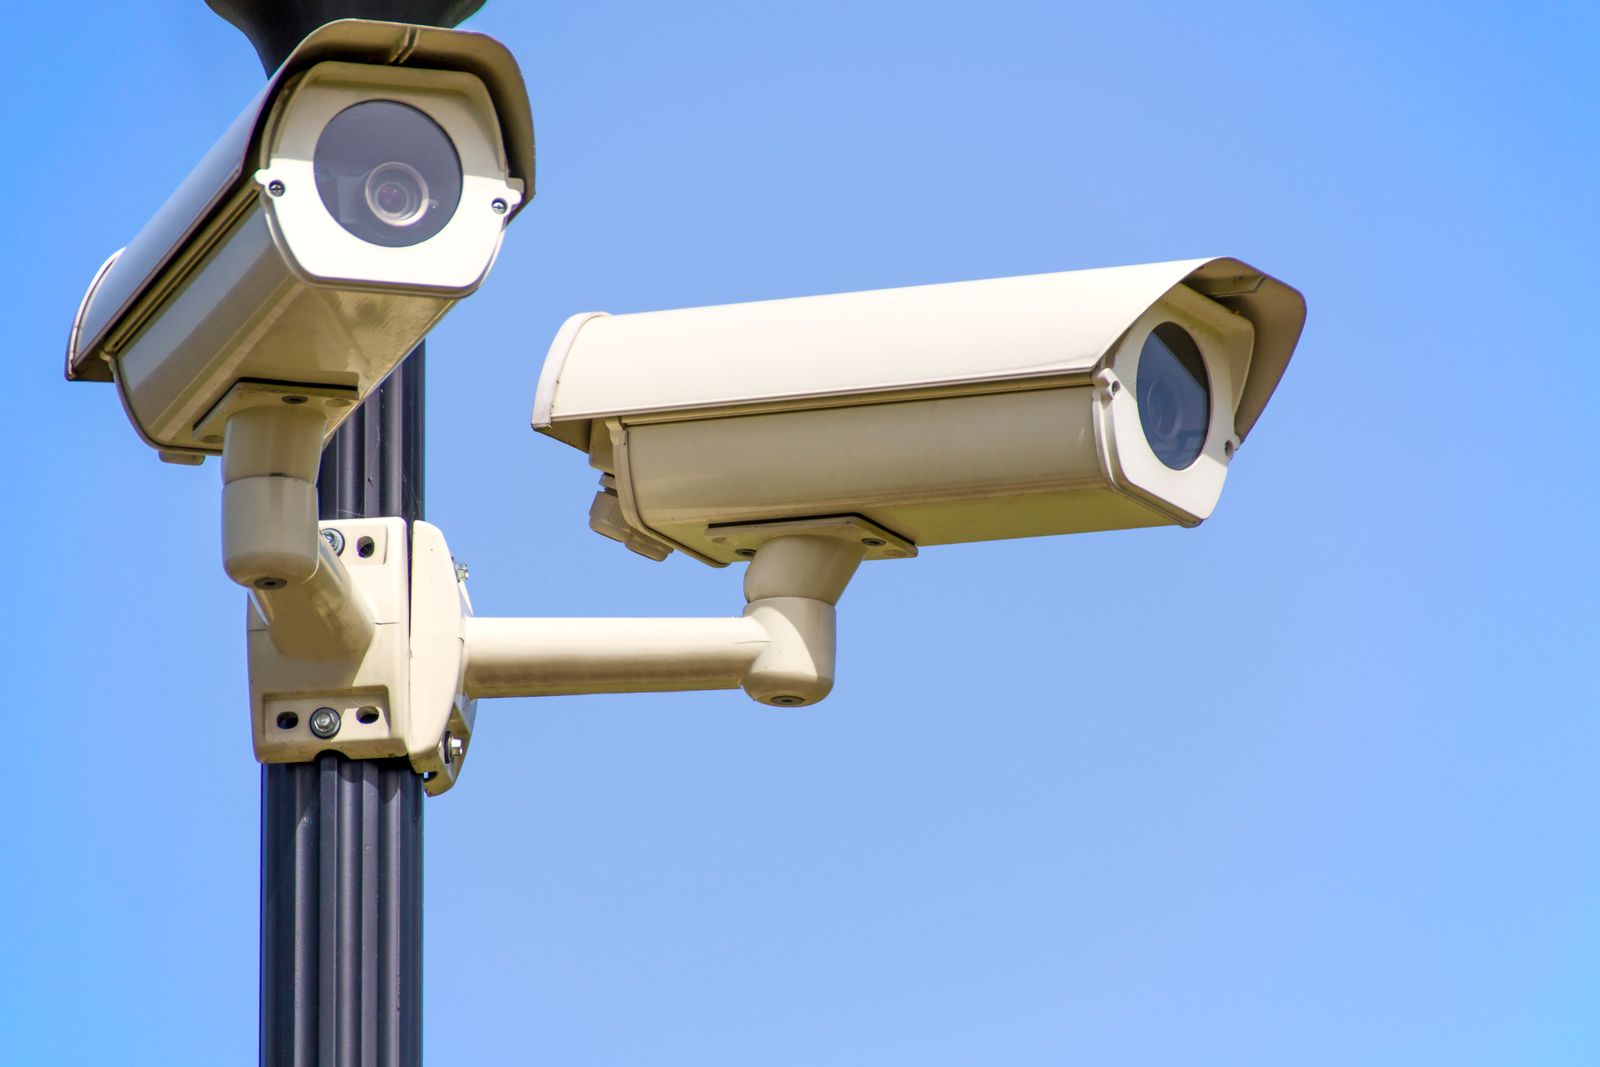
Where to Place Outdoor Security Cameras: Height, Angle & Solar Zone Coverage Calculator
Where Should You Place Outdoor Security Cameras for Maximum Protection?
You should place outdoor security cameras at a mounting height of 8 to 10 feet above ground level, angled downward between 15 and 30 degrees toward primary entry points—including front doors, rear patio doors, and driveways. Solar panels require 3 to 4 hours of unshaded southern light daily, and motion sensors work best when movement crosses laterally across the camera's field of view rather than directly head-on.
Outdoor Security Camera Placement & Zone Coverage Planner
Use this interactive calculator to determine your property's exact hardware requirements, ideal downward tilt angles, PIR motion detection ranges, and solar mounting strategies based on your house dimensions and sun exposure.
Zone Placement Cheat Sheet: Heights, Angles, and Solar Exposure
| Property Zone / Scenario | Ideal Mounting Height | Downward Tilt Angle | Solar Panel Placement Strategy | WiFi & PIR Motion Sensor Alignment |
| --- | --- | --- | --- | --- |
| Front Porch / Main Entrance | 8 – 9 Feet | 20° – 30° Downward | Mount panel on unshaded fascia or south-facing porch gable | Position camera offset 15°-30° from door path for side-profile face capture |
| Driveway & Garage Perimeter | 9 – 10 Feet | 15° – 20° Downward | Direct roofline exposure facing South or Southwest | Align PIR sensor perpendicular to vehicle entry path; avoid street traffic |
| Rear Patio / Sliding Back Door | 8 – 9 Feet | 20° – 25° Downward | Extend panel above eaves using remote cable if yard is heavily shaded | Cross-angle coverage across patio perimeter to catch lateral movement |
| Side Alleyways & Narrow Passages | 8 – 10 Feet | 15° – 25° Downward | Mount panel on corner roof peak to clear narrow building shadows | Angle camera down long alleyway; reduce PIR sensitivity to eliminate fence false triggers |
| Detached Shed / Outbuilding | 8 – 9 Feet | 15° – 20° Downward | Unobstructed roof mount facing South; clean panel twice yearly | Verify 2.4GHz WiFi signal at outbuilding wall prior to mounting |
Each entry zone of your property presents unique architectural challenges, lighting conditions, and potential blind spots. Compare the placement parameters below before drilling into siding or masonry.
Pro Security Tip: Balancing Solar Clearance and Field of View
Decouple the Solar Panel from the Camera Lens When Shadows Dictate
Security professionals frequently encounter a common dilemma: the optimal visual angle for capturing an intruder's face is on a shaded north wall or beneath a deep porch eave, while solar power requires direct, unshaded sunlight. Never compromise your camera's field of view just to put the integrated solar panel in the sun.
Instead, utilize a camera setup that supports a detached solar panel connected via an extension cable. Mount the PTZ camera exactly where it provides the crispest, unglared view of entry thresholds (8–9 feet high, angled 20° down). Then run the weatherproof power cable 10 to 15 feet to mount the solar panel high on an unshaded southern fascia or roof corner. This decoupling ensures 100% battery stability alongside flawless security coverage.
Critical Placement Failures That Create Security Blind Spots
Top 5 Installation Mistakes That Compromise Surveillance & Solar Charging
When outdoor security cameras fail to catch an intruder or lose battery power unexpectedly, the issue is almost always improper physical placement rather than hardware malfunction. Review these major failure modes to protect your investment:
Pre-Installation Planning Steps
Your decision: Determine exact exterior drill points based on zone guidelines and solar clearance test.
Do this next: Conduct a live handheld signal test and solar exposure check at the target mounting height prior to permanent installation.
- Read next: Optimal Mounting Height and Angle Guide for Outdoor PTZ Cameras
- Read next: Solar Security Camera Mounting Options: Vinyl Siding, Brick, and Gutters Compared
Explore our Wireless Outdoor Solar Security Camera Pack with built-in PTZ tracking for flexible placement.
Before grabbing your power drill and climbing a ladder, walk your property during peak daylight hours. Identify all high-risk entry points, measure wall heights, and note where structural shadows fall between 10:00 AM and 2:00 PM.
Core Camera Placement Rules at a Glance
Keep these fundamental security engineering standards top of mind throughout your installation project:
- Mount at 8–10 feet: Balances anti-tampering height with clear, police-usable facial recognition.
- Tilt downward 15° to 30°: Eliminates horizon glare while capturing waist-to-face height metrics.
- Offset motion paths by 15°–30°: Maximizes PIR sensor trigger speed by catching lateral cross-body movement.
- Orient solar panels South/Southwest: Ensure 3–4 hours of direct unshaded sunlight daily for year-round battery health.
- Audit 2.4GHz WiFi before drilling: Confirm at least 2 bars of signal strength on your mobile app at the exact mounting site.
Visual Mapping Blueprint & Mounting Geometry
Refer to these technical specifications and visual layout blueprints when drafting your property's perimeter defense plan.
Real-World Placement Scenarios for Complex Layouts
Corner Lot with Dual Street Exposure — Place a PTZ camera on the front exterior corner angled 20° down to cover both intersecting sidewalks. Mount a secondary camera on the rear diagonal corner to seal off side-gate entry. Set PIR motion zones to ignore public sidewalk foot traffic while triggering immediately on property boundary crossing.
Two-Story Home with Deep Front Porch Overhang — Do not mount cameras on second-story fascia. Mount a PTZ camera at 8.5 feet on a corner porch pillar, angled laterally across the porch deck. Route the solar panel via a detached 10-foot cable up to the main second-story gutter line facing South.
Deep Property Lot with Detached Backyard Garage / Shed — Install one PTZ unit on the main house rear wall covering the back lawn path, and a second unit on the outbuilding fascia. If WiFi signal is weak at the outbuilding, install a 2.4GHz outdoor WiFi mesh node on the rear interior wall of the main house to maintain high-throughput connectivity.
Not every property is a perfect rectangular lot. Here is how security experts solve tricky architectural layouts:
Pre-Drill Camera Placement Verification Checklist
- Verify mounting height is between 8 and 10 feet above ground level.
- Ensure lens is tilted downward 15° to 30° to target waist-to-face height.
- Check solar panel placement receives at least 3-4 hours of unshaded southern light.
- Confirm mobile app receives at least 2 bars of 2.4GHz WiFi signal at mount point.
- Verify motion sensor is parallel to path of movement, not facing oncoming head-on motion directly.
- Ensure infrared LEDs won't bounce off nearby soffits, gutters, or side walls causing glare.
Printable Outdoor Camera Installation Blueprint
- Mount height: 8 to 10 feet above ground (avoids vandalism while capturing clear faces).
- Downward lens tilt: 15° to 30° toward ground threshold.
- Camera horizontal angle: 15° to 30° offset from direct head-on approach paths.
- Solar panel orientation: South or Southwest facing, 30° to 45° tilt, 3+ hours direct unshaded sunlight.
- WiFi check: Minimum 2 bars of 2.4GHz signal on mobile app at exact drill point.
- IR clearance: At least 12 inches away from white sidewalls, gutters, or soffit edges.
- PIR motion tuning: Test walk across the detection zone to confirm alert triggers at 20-25 feet.
Deep Dive Coverage Guides & Technical Advice
Expand your surveillance knowledge with our comprehensive planning resources and placement guides:
- Optimal Mounting Height and Angle Guide for Outdoor PTZ Cameras — Deep dive into focal distance geometry and facial recognition pixels per foot.
- Solar Security Camera Mounting Options: Vinyl Siding, Brick, and Gutters Compared — Drill-free bracket techniques and masonry anchor selection.
- How to Eliminate Security Camera Blind Spots and Motion Detection Gaps — Strategies for overlapping field-of-view cones across large lots.
- Fixed vs. PTZ Solar Cameras: Which Setup Prevents Dark Spots Best? — Analyzing dynamic panning range vs static focal points.
Frequently Asked Questions About Camera Placement
Review expert answers to the most frequent installation and positioning questions asked by homeowners and business owners.
Recommended Wireless Solar Security Hardware
Complete 360-Degree Perimeter Defense with Zero Battery Maintenance
To execute the placement strategies detailed in this guide, you need hardware that offers mounting flexibility, long-range solar efficiency, and wide field-of-view coverage.
Our Outdoor Solar Security Camera (Pack) is specifically engineered for residential and commercial security installations:
- PTZ (Pan-Tilt-Zoom) Capability: Remote 355° pan and 90° tilt controlled via mobile app eliminates static blind spots.
- Continuous Solar Power: Efficient photovoltaic panel ensures zero battery downtime even during overcast winter weeks.
- Color Night Vision & Two-Way Audio: High-intensity spotlight array delivers crisp color footage in pitch darkness while enabling real-time audio warnings.
- Wireless 2.4GHz WiFi & Cloud Backup: Flexible placement on any exterior surface without running electrical or data cables.
Actionable Next Steps for Total Property Defense
Your decision: Determine exact exterior drill points based on zone guidelines and solar clearance test.
Do this next: Conduct a live handheld signal test and solar exposure check at the target mounting height prior to permanent installation.
- Read next: Optimal Mounting Height and Angle Guide for Outdoor PTZ Cameras
- Read next: Solar Security Camera Mounting Options: Vinyl Siding, Brick, and Gutters Compared
Explore our Wireless Outdoor Solar Security Camera Pack with built-in PTZ tracking for flexible placement.
Ready to eliminate blind spots around your property? Follow these final steps to complete your installation with complete peace of mind.
Cover photo by AS Photography on Pexels.