Solar Security Camera Placement Guide: Built-In vs. Adjustable Panel Setup
Place a solar security camera so the lens sees the approach and the 3.5W panel still collects 3-5 hours of direct sun. A built-in panel is the simpler setup when those two jobs share a wall. An adjustable or separate panel is the right setup when the gate faces north, sits under an eave, or otherwise starves the glass. Do not aim the whole camera at the driveway if that pose puts the panel in shade.
The lens and the panel want different directions
The 1080p lens wants the gate, the path, or the porch landing. Color night vision is useful out to about 33 feet, so the head should look slightly down onto that cone, not at the horizon. The 3.5W panel wants open sky and hours of direct light. Those two compass points are the same only on a lucky wall.
A built-in panel ties them together. Tilt the camera to catch a face and the panel may now see fascia. Tilt the camera to catch noon sun and the lens may now see sky. That is the placement trap this guide is for.
PTZ helps after the panel is already in the light. A 355-degree pan can look left to a driveway and right to a side gate. It cannot invent sun on a north soffit.
Built-in panels: simple until the wall faces the wrong sky
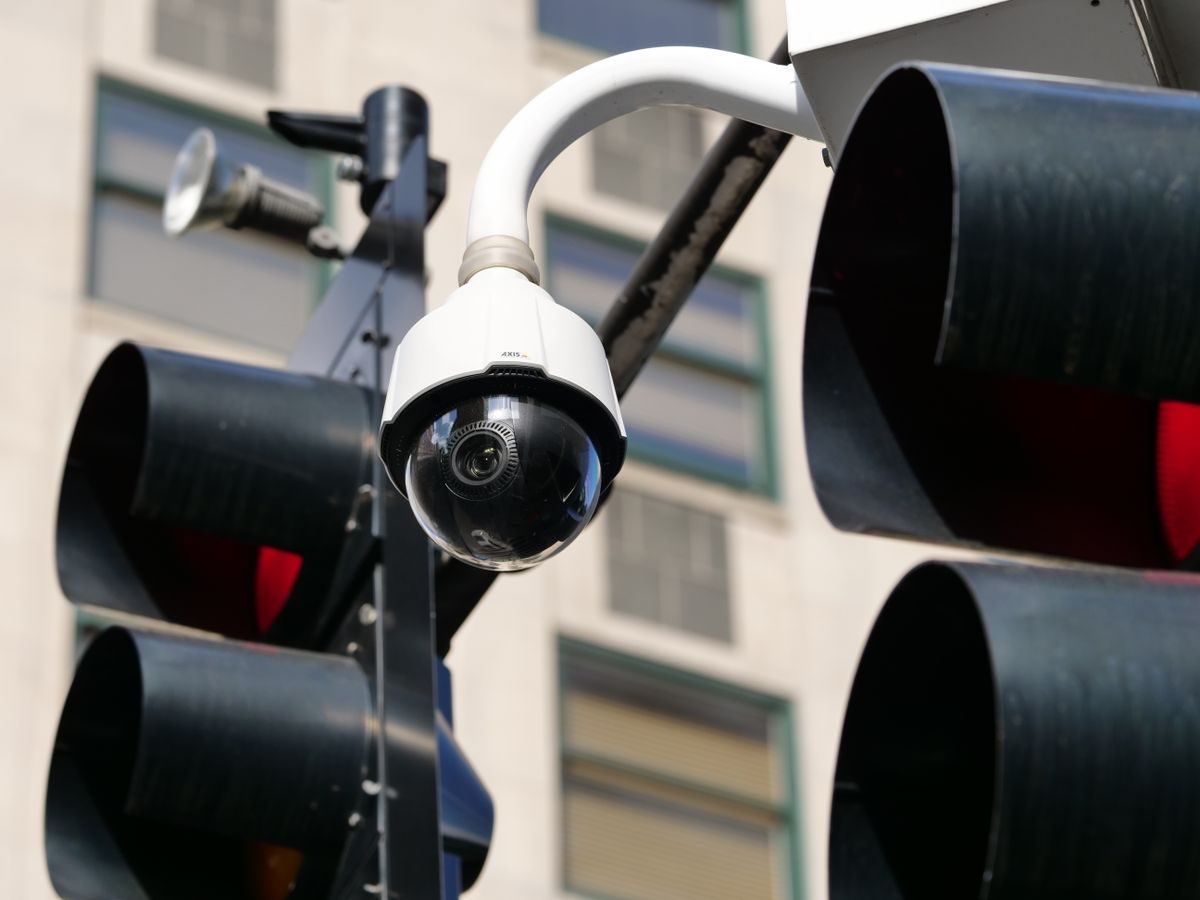
Photo by Giant Asparagus on Pexels
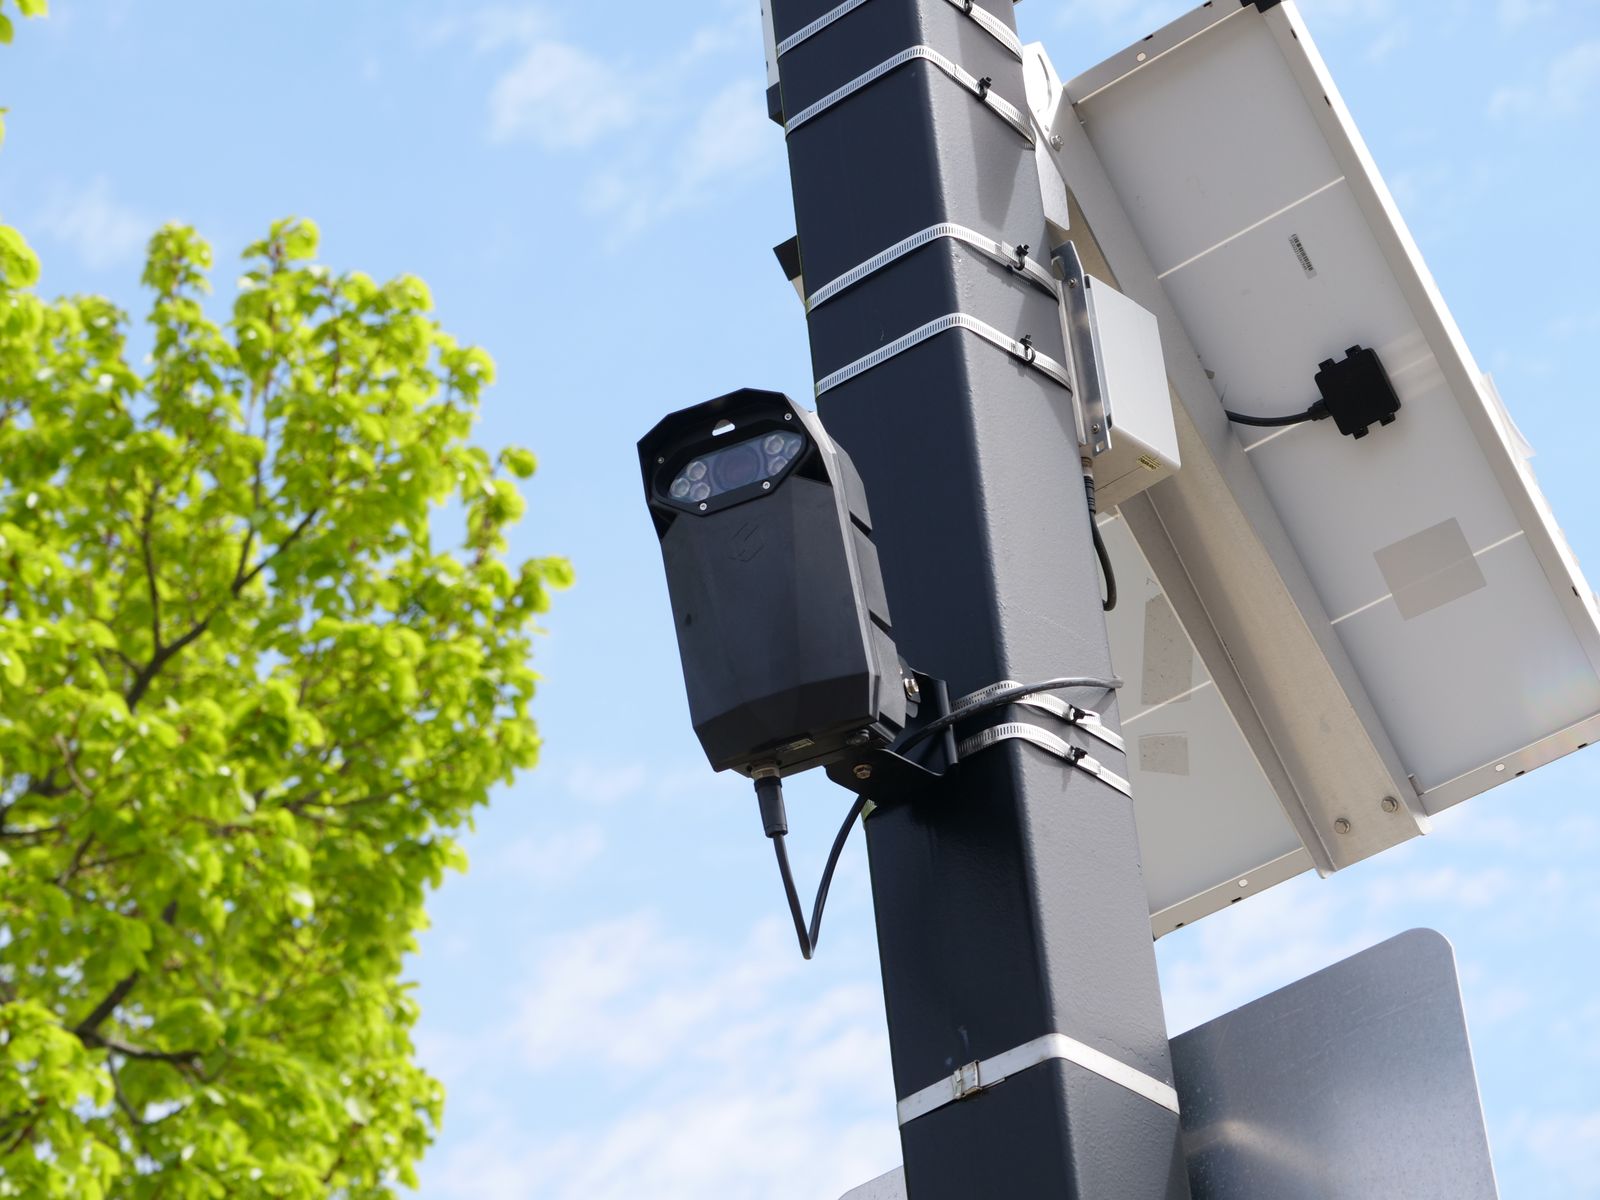
A camera with the panel on its back or crown is one hole, one aim, one ladder trip. That is the right buy for a south or west wall with a clear view of both the approach and the sun. Keep the mount near 8-10 feet so faces stay in frame and the unit is harder to grab.
Built-in fails on a covered porch, a north gable, and any eave that shades the housing from late morning on. The 5200 mAh pack then starts each night lower. Event recording and a short PTZ move cannot refill what the day never gave.
If the listing photo shows the panel glued to the camera, walk the real wall at noon. If a hand shadow from the roof already covers the glass, that is not a built-in site. Move the camera or choose an adjustable panel.
Adjustable and separate panels: coverage first, sun second
An adjustable bracket or a panel on its own short cable lets the lens sit where the crime happens and the 3.5W face sit where the sky is. That split is how a side door under an eave still stays powered. Aim the panel for 3-5 hours of direct sun. Aim the lens down the path. Then set home position in the Tuya Smart app.
Keep the cable tidy and out of reach. A dangling lead is a tamper handle. The camera body still wants IP65 weather at 8-10 feet; the panel wants the same weather and more light than the lens does.
Separate panels add a second hole. That is still cheaper than trenching power to a dark corner. Use the extra hole. Do not pretend a built-in unit will charge through a porch ceiling. Stand at the mount, point one hand at the gate and one at the sun, and buy adjustability if those hands disagree.
Built-in versus adjustable solar panels
| Setup | Use it when | Skip it when | | --- | --- | --- | | Built-in panel | Scene and sun share a south or west wall | The only view sits under a deep eave | | Tilt bracket on the camera | A small aim split, one hole still preferred | The wall never sees 3-5 hours of sun | | Separate 3.5W panel | Lens must hide under cover; sun is two feet away | There is no legal place to put a second plate | | PTZ on a sunny wall | One head can cover two approaches after the panel is lit | You need the lens in a permanently dark alcove | | Move the camera instead | A nearby corner has both sun and view | The current hole is already the only allowed mount |
Built-in versus adjustable panel checklist
Photo by Jan van der Wolf on Pexels
- [ ] Point one hand at the scene and one at the sun; note the split.
- [ ] Choose built-in only if both hands can share one wall.
- [ ] Choose an adjustable or separate 3.5W panel if the eave shades the housing.
- [ ] Keep the camera near 8-10 feet; keep the panel in 3-5 hours of direct sun.
- [ ] Set PTZ home after the panel is already in the light.
- [ ] Finish the 8-10 hour first charge before judging overnight runtime.
Frequently asked questions
Can PTZ replace an adjustable solar panel?
No. PTZ aims the lens. It does not move the 3.5W panel into sun. Park the head on a sunny wall, then pan to the gate.
Is a built-in panel always easier?
It is easier on a wall that already has view and sun. It is harder when every good camera angle starves the glass.
How much sun does the panel still need?
Plan 3-5 hours of direct light on the 3.5W face. A bright-looking porch that never sees direct sun is not enough.
Should the panel face the same way as the lens?
Only when the approach and the sun agree. Otherwise split them with a tilt arm or a separate panel.
Does color night vision change panel placement?
Night vision needs the lens pointed into a 33-foot cone on the path. That tilt is a lens job. Keep the panel in the sun independently.
Related reading
Sun angle, mount height, and first-week charging sit next to the built-in versus adjustable choice.
- how to aim solar security camera panels for daily efficiency
- year-round solar panel angles for security cameras
- mounting a solar camera so the panel still reaches sunlight
- how panel placement changes overnight battery life
What to do next
At the intended wall, point one hand at the gate and one at the sun. If they agree, a built-in 3.5W camera is the simpler kit. If they do not, order an adjustable or separate panel before drilling. Mount near 8-10 feet, finish the 8-10 hour first charge, then set home position so the lens watches the path while the glass stays in the light.
Cover photo by Giant Asparagus on Pexels.