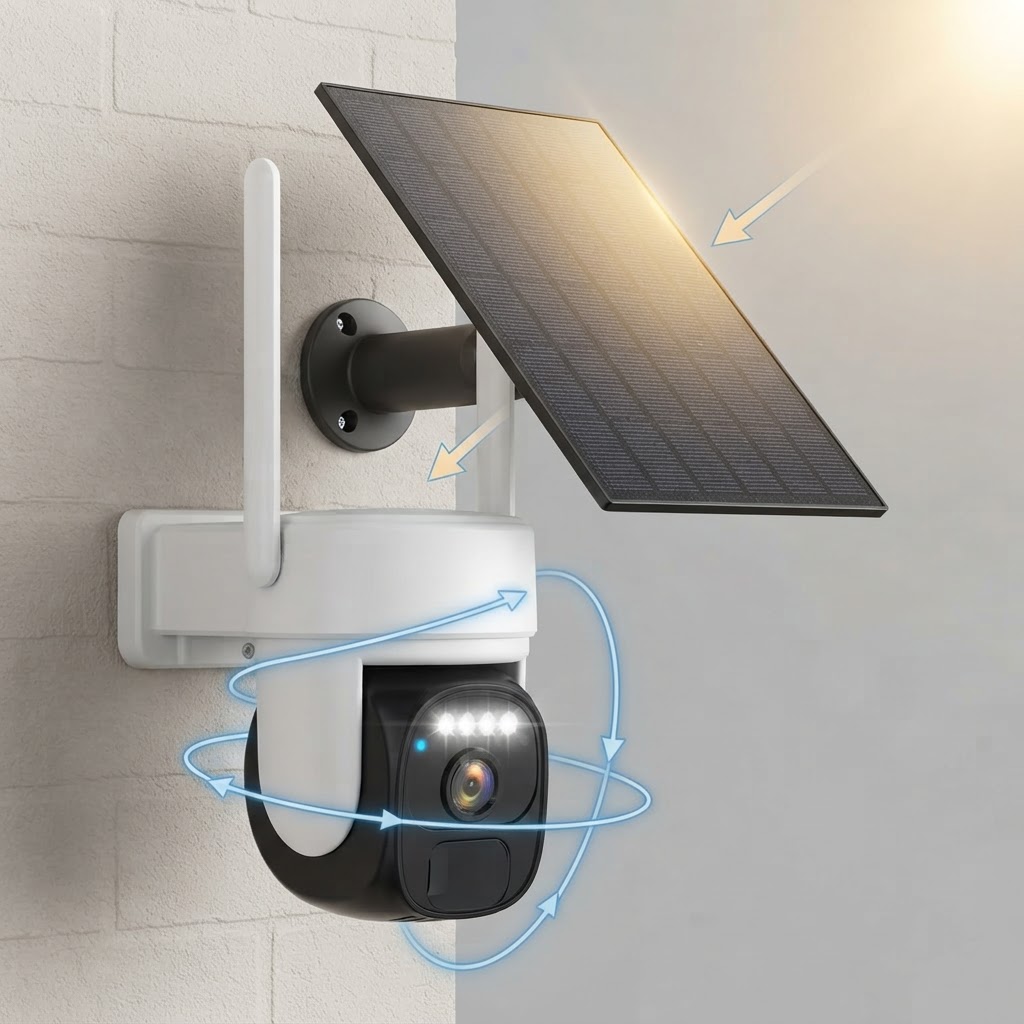
How to Mount and Position a Solar Security Camera for Maximum Sunlight
How to Mount and Position a Solar Security Camera for Maximum Sunlight
Proper installation ensures your solar camera remains continually charged without manual battery swaps. For broader layout advice, consult the main guide.
Follow these step-by-step instructions to position and mount your Outdoor Solar Security Camera.
Step 1: Pre-Charge Internal Batteries Completely
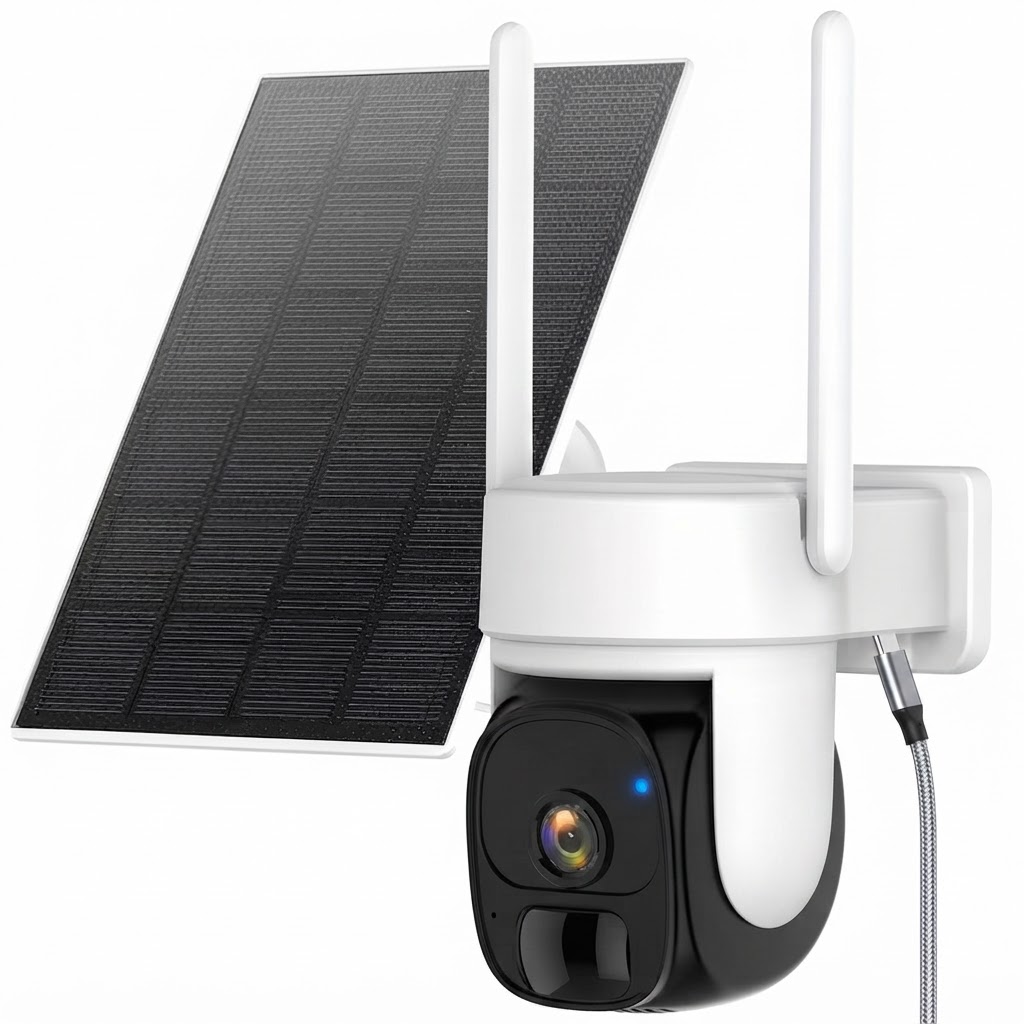
Before permanent mounting, perform an initial charge time hours of 8-10 hours using standard micro-USB or USB-C inputs to top up the internal 5200 mAh battery capacity.
Step 2: Identify South-Facing Solar Placement
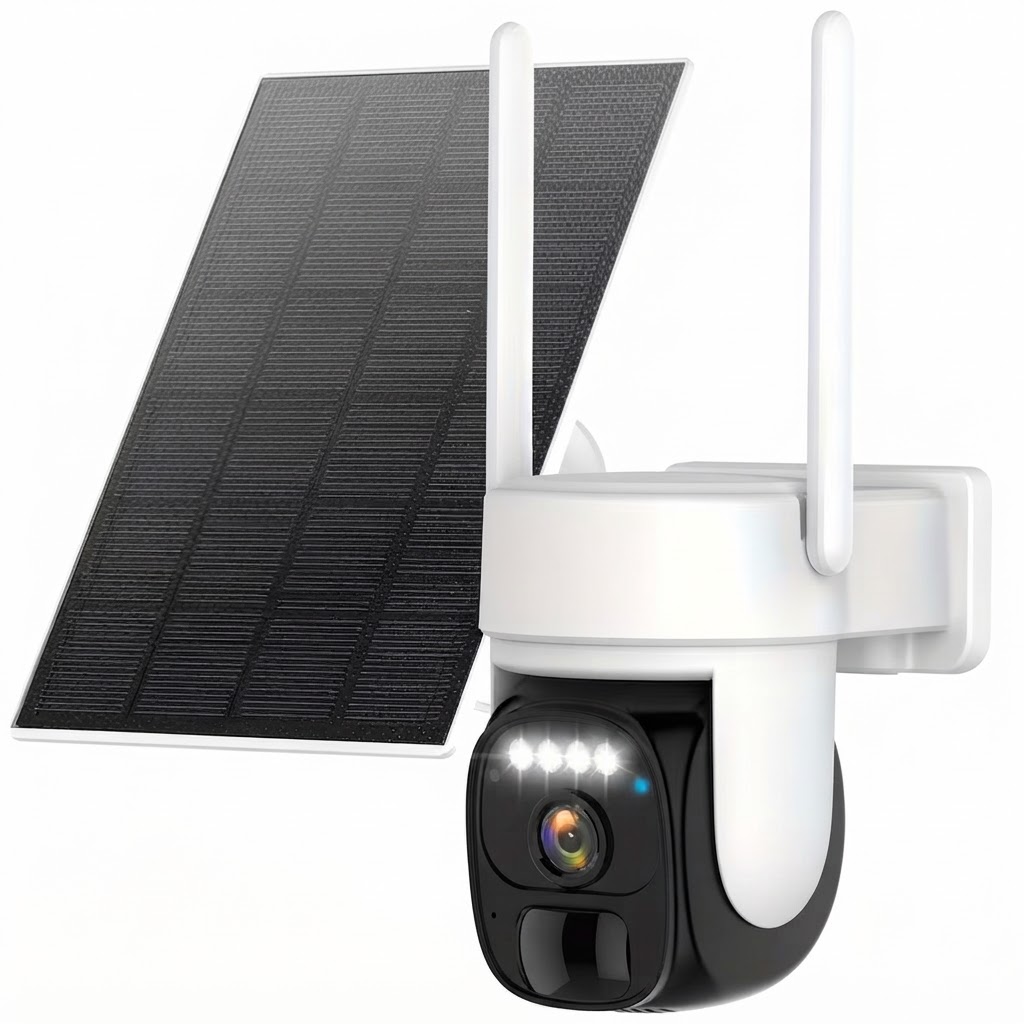
Select an installation wall or pole facing south (or north in Southern Hemisphere) that receives direct sunlight hours required of 3-5 hours daily. Ensure roof overhangs or foliage do not cast shadows over the 3.5W solar panel wattage module.
Step 3: Mount at the Recommended Installation Height
Secure the base plate at a recommended installation height feet of 8-10 feet off the ground using included hardware. This height balances physical security with ease of cleaning access.Step 4: Adjust Camera Angle and Pan Range
Angle the camera downward roughly 20 degrees. Leverage the camera pan angle degrees of 355 degrees to cover broad ground areas without placing hardware in physically vulnerable locations.Step 5: Connect and Test App Connectivity
Open the Tuya Smart app using your wireless WiFi connectivity to confirm live feed quality, calibrate motion sensitivity, and verify solar battery recharging status.Read the full guide: Where to Place Outdoor Security Cameras: The Complete Property Placement Guide