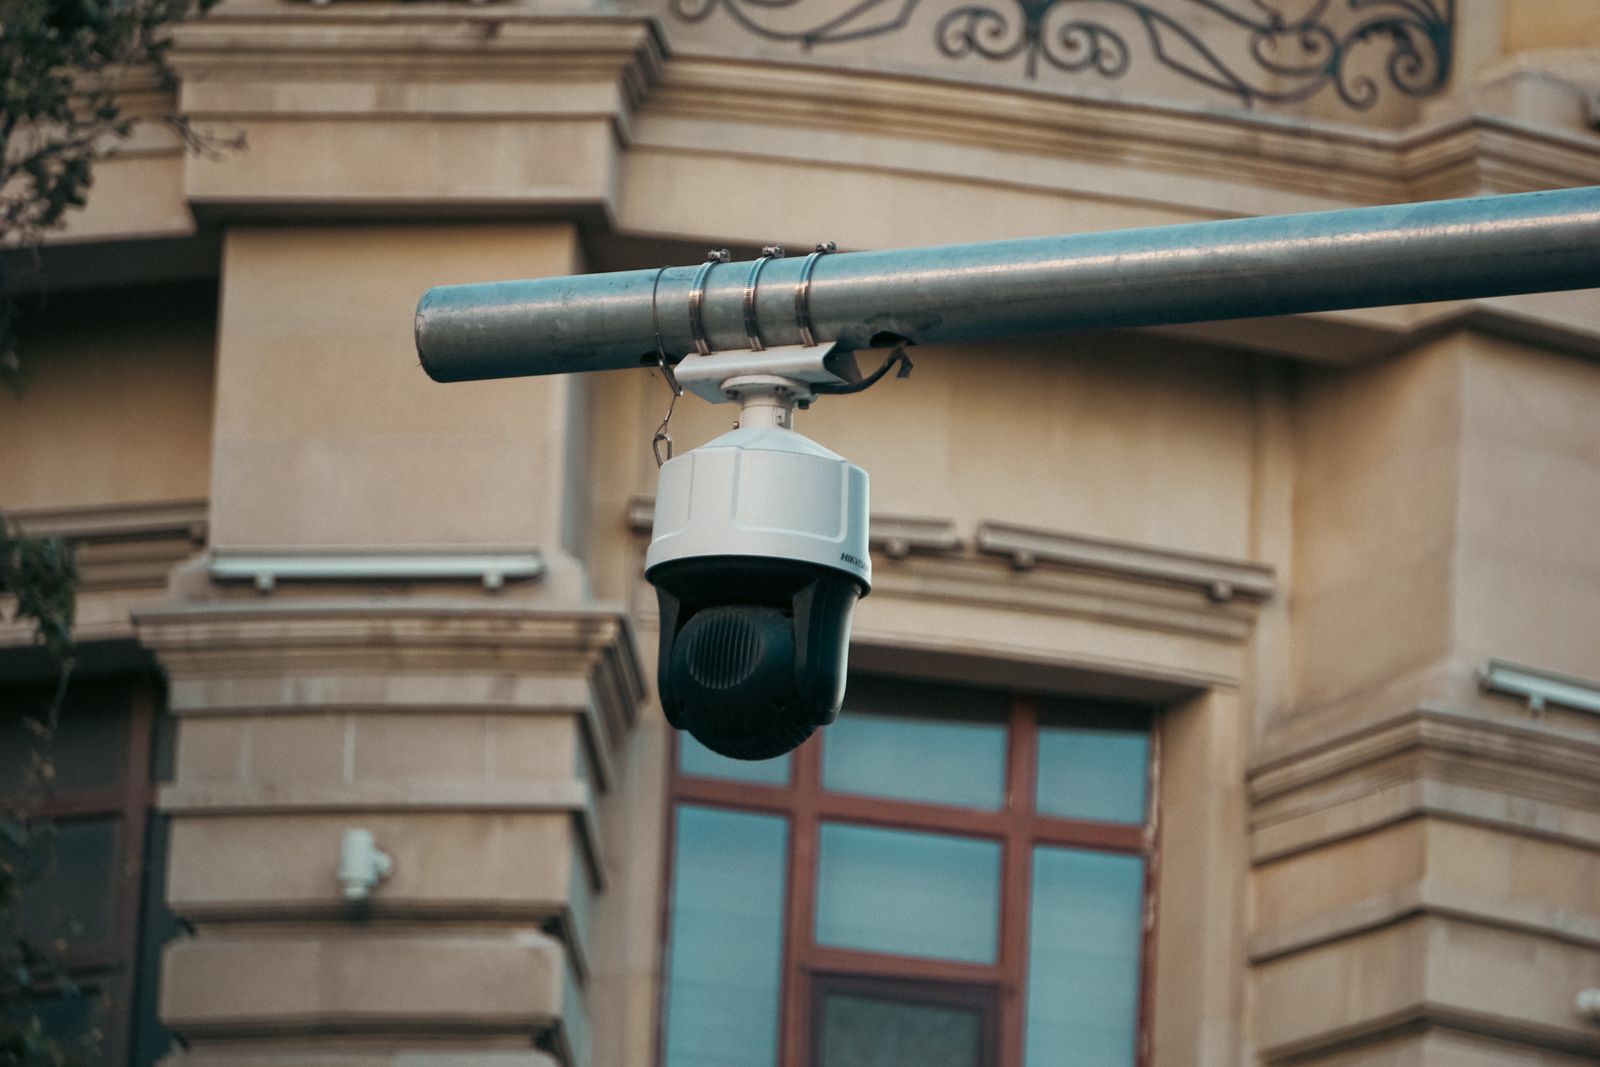
How to Eliminate Security Camera Blind Spots Around Your Property
To eliminate 100% of security camera blind spots, apply the 15% Field-of-View (FOV) Overlap Rule: mount outdoor cameras between 8 to 10 feet high, pitch lenses downward at 15 to 30 degrees, and space 110-degree lenses no further than 35 feet apart so adjacent camera cones intersect before hitting structural dead zones.
Key Principles of Blind Spot Elimination
- 8–10 Foot Mounting Height: Keeps cameras out of arm's reach while limiting the triangular dead zone directly beneath the camera body to under 3 feet.
- 15% Cone Overlap: Position adjacent camera angles so the edge of Camera A's lens covers the physical mounting chassis of Camera B.
- 355° Pan Coverage: Utilize Pan-Tilt-Zoom (PTZ) motorized sweeps to monitor expansive yards without purchasing separate static units for every corner.
- 12-Inch Panel Offset: Mount solar panels at least 12 inches clear of the camera's rotational housing to prevent physical obstruction and night-vision glare.
- Spotlight-Assisted Night FOV: Use dual spotlight color night vision to maintain clarity across the entire 45-foot optical range in zero-lux environments.
Optical & Positioning Specifications Matrix
Photo by David Henry on Pexels
| Parameter | Target Specification | Optical Purpose | Impact on Blind Spots |
| --- | --- | --- | --- |
| Mounting Height | 8.0 – 10.0 Feet | Balances facial identification detail with physical tamper resistance. | Prevents large dead zones at wall base while stopping manual disabling. |
| Downward Pitch | 15° – 30° Tilt | Aligns optical center with human motion path (4–6 ft height). | Eliminates horizon wash out and captures ground-level movement. |
| Horizontal FOV | 110° Static / 355° PTZ | Establishes baseline coverage cone per corner mount. | PTZ sweeps eliminate static blind corners along long building runs. |
| Camera Spacing | 25 – 35 Feet | Enforces 15% overlapping field-of-view intersection. | Ensures an intruder passing between zones is continuously tracked. |
| Solar Offset | ≥ 12 Inches | Keeps charging panel outside PTZ physical sweep and lens glare arc. | Prevents panel edge from blocking pan rotation or reflecting IR LEDs. |
The table below outlines standard technical parameters required to achieve complete perimeter coverage across typical residential and commercial properties.
Visual Blueprint: Field-of-View Overlap & Height Geometry
Refer to the visual specifications below to map line-of-sight cones and calculate ground dead zones relative to eave heights.
Recommended Solution: Outdoor Solar Security Camera Pack
For comprehensive zero-blind-spot coverage without the expense of professional hardwiring, deploy the Outdoor Solar Security Camera Pack. Featuring 355-degree motorized panning, 90-degree tilting, wireless WiFi connectivity, and continuous solar power, this app-controlled camera system allows you to cover vast perimeters and eliminate dark spots effortlessly.
Explore the Outdoor Solar Security Camera Pack at SolarSafetyCameras.com
Perimeter Blind Spot Audit Checklist
- Inspect ground area directly beneath each mounted camera wall (0 to 6 feet zone) for blind spots.
- Verify 15% FOV overlap between adjacent corner cameras along building runs.
- Check tree canopy foliage and bush lines during full bloom for lens obstruction.
- Ensure solar panel is mounted 12+ inches clear of PTZ rotation arc.
- Test color night vision range in complete darkness along back fence lines.
Pro Tip: Solar Cable Management & PTZ Clearance
When installing solar-powered PTZ cameras, never mount the solar panel directly above the top hinge of the camera chassis without an offset bracket. A panel overhang mounted too close can clip the camera dome during a 90-degree upward tilt or cast a reflective shadow into the optical sensor when IR illumination activates at night. Always maintain a minimum 12-inch offset using an extension cable.
Immediate Next Steps for Property Owners
Your decision: Determine whether your current layout suffers from ground-level dead zones or unmonitored side yards.
Do this next: Perform a daytime and nighttime walk-through using the Property Audit Checklist, marking camera lens angles and shadow zones.
Related resource: How to Custom-Configure Solar Camera Motion Detection Alerts to Stop False Alarms
Equip your perimeter corners with the Outdoor Solar Security Camera Pack to combine continuous solar power with pan-tilt-zoom coverage.
Follow this roadmap to evaluate your property's current vulnerabilities before making mounting adjustments.
Choosing the Right Camera Configuration for Your Layout
To eliminate dead zones, balance wide-angle fixed coverage with pan-tilt-zoom (PTZ) units. Single static cameras always leave blind spots directly below or beside their chassis.
Best choice for
- Solar PTZ Cameras with 355° Pan and 90° Tilt — Allows single-camera scanning across wide areas without running long hardwires.
- Fixed 110° Wide-Angle Solar Cameras — Provides constant uninterrupted 24/7 view of high-priority narrow access points.
- Mounting cameras above 12 feet without downward angle tilt, which creates massive dead zones directly under the camera wall.
- Multi-camera crossfire configuration — Positions two cameras at opposing corners pointing toward each other to eliminate dead zones under both units.
Essential Hardware for Complete Perimeter Defense
Photo by George Becker on Pexels
Achieving comprehensive security requires weather-resistant, continuous-power hardware engineered for full-spectrum night vision and flexible positioning.
Eliminating blind spots requires understanding how light, lens optics, and mounting elevation interact. Every security camera creates a triangular blind zone directly beneath its lens. The depth ($D$) of this ground dead zone is mathematically determined by the mounting height ($H$) and the lens vertical pitch angle ($\theta$). When a camera is mounted 12 feet high with a horizontal angle of view, a dead zone extending 7 to 10 feet out from the wall base is produced.
The Mechanics of Eave and Fence Shadowing
Architectural protrusions present another major source of blind spots. Eaves, soffits, gutters, and privacy fences cast physical barriers across a camera's line of sight. Mounting a camera directly flush against an eave cuts off the top 20% of the optical frame, while mounting too low beneath an eave exposes the camera to direct rain and glare.To overcome fence line occlusion, cameras must be positioned at building corners where they can cast diagonal sightlines down narrow side yards. When a camera looks parallel down a fence line, an intruder ducking beneath the fence plane remains hidden. Positioning the lens at a 15-to-30-degree diagonal crossfire ensures that even low-profile movement breaks the sensor threshold.
Overcoming Night Vision Drop-Off
Infrared (IR) and LED illumination decay rapidly over distance following the inverse-square law. A camera rated for 30 feet of night vision will lose up to 75% of its pixel clarity at the 25-foot mark in pitch-black conditions. When auditing blind spots, nighttime testing is critical. A blind spot during the day might be a light pole shadow, but at night, it becomes a 15-foot zone of pitch darkness where standard passive IR fails. Utilizing solar-powered units equipped with motion-activated spotlights converts infrared dark spots into clear, full-color night video frames.Blind Spot Solutions by Property Scenario
| Property Scenario | Primary Blind Spot Risk | Recommended Camera Strategy | Optimal Mounting Specs |
| --- | --- | --- | --- |
| Single-Story Suburban Home | Ground-level dead zones under low soffits and porch shadows. | 4-Corner Crossfire using wide-angle or PTZ solar cameras. | Mount at 8–9 ft height, 20° downward tilt, 12-in solar panel clearance. |
| Two-Story Residential Structure | Excessive height creating 10+ ft dead zones at foundation base. | First-floor mid-wall mounting for entry zones; upper PTZ for yard sweep. | Mount lower units at 9 ft, upper PTZ at 14 ft angled down 30°. |
| Narrow Side Yard / Alleyway | Fence occlusion and elongated shadows along side paths. | Diagonal corner crossfire pointing inward toward opposite gates. | Mount at 8 ft on garage/house wall angled 15° diagonally across path. |
| Commercial Outbuilding / Open Lot | Expansive perimeters exceeding static lens field of view. | Motorized PTZ Solar Cameras with configured automated patrol routes. | Mount at 10 ft on corner posts with 355° sweep clearance. |
Compare structural vulnerabilities and positioning solutions across common residential and commercial building types.
5 Critical Blind Spot Placement Errors to Avoid
Avoid these frequent installation mistakes that leave gaps in outdoor camera coverage:
Related Placement & Perimeter Defense Guides
- How to Set Up PTZ Cameras to Eliminate Property Blind Spots Completely
- How to Eliminate Security Camera Blind Spots and Motion Detection Gaps at Property Borders
- Solar Security Camera Placement Guide: Eliminate Blind Spots
Frequently Asked Questions About Camera Blind Spots
Get fast answers to essential mounting height, PTZ scan configuration, and solar positioning queries.
Final Action Plan: Eliminate Your Blind Spots Today
Your decision: Ready to map and resolve every unmonitored zone on your property?
Do this next: Audit your building corners, measure mounting elevations, and deploy a multi-camera solar PTZ configuration.
Related resource: Perimeter Security Camera Placement Blueprint
Visit SolarSafetyCameras.com to secure your Outdoor Solar Security Camera Pack with wireless PTZ protection.
Take these concrete steps to achieve complete, gap-free perimeter surveillance on your property.
Cover photo by Elmir Jafarov on Pexels.