How to Set Up PTZ Cameras to Eliminate Property Blind Spots Completely
A pan-tilt-zoom camera eliminates blind spots by covering several fields of view from one mounting point, but only if you plan the coverage around approach paths rather than around square footage. The honest version of the goal is this: you cannot watch every square meter of a property at every instant with a moving camera, and you do not need to. What you need is that no one can reach a door, window, vehicle, or gate without passing through a frame the camera is watching, and that is achievable with far fewer cameras than most people assume.
What creates a blind spot in the first place
Blind spots are rarely random. They come from a short list of causes, and recognizing which one you have tells you whether the fix is aiming, mounting, or an additional camera:
- The area directly below the camera. Every camera has a cone beneath it that the lens cannot see. Mount a camera on a wall at head height and someone standing against that wall is invisible.
- Structures that interrupt the line of sight. A porch pillar, a parked van, a hedge, a wheelie bin, or a stack of pallets creates a shadow behind it that no amount of zoom recovers.
- Field of view narrower than the space. A lens covers a wedge, not a circle. Two cameras aimed with no overlap leave a gap between the wedges.
- Height mismatch. A camera mounted very high sees the tops of heads and roofs of cars, which is good for detection and poor for identification. Mounted very low, it sees detail but is easily blocked and easily reached.
- Backlighting. A camera aimed toward a bright sky, a floodlight, or a low sun at dawn produces silhouettes: technically in frame, functionally blind.
- Night reach. A frame that is useful in daylight can go dark past a certain distance after sunset. Color night vision extends the useful range, but every camera has a limit.
- The camera pointing elsewhere. On a moving camera, the largest blind spot is usually the part of its range it is not currently looking at.
Map the property before you mount anything
How pan, tilt, and zoom removes blind spots — and the one it cannot
Movement converts one mounting point into several viewpoints. On an irregular property — an L-shaped house, a yard with a side return, a small business with a rear loading area and a front door on different faces of the building — that is a genuine reduction in camera count, which is why moving cameras are so common on larger sites. The warehouse coverage case shows the pattern at scale: fewer positions, each responsible for a wider arc.
Zoom addresses a different blind spot: distance. A wide view that shows someone at the far fence as a smudge becomes useful when you zoom in, which means a single camera can serve both as a wide detector and as an identification tool on demand.
The limit is simultaneity. A camera that is panned toward the rear gate is not watching the driveway. No setting solves this, and any claim otherwise is worth distrusting. The practical answers are to place the camera so that its default resting position covers the highest-value approach, and to accept a second fixed camera for any approach that genuinely needs constant coverage.
Presets, patrol, and a default resting position
Three habits get most of the value out of a moving camera:
Save a default position and make it the highest-value view. Whatever the camera is looking at when nobody is touching the app is the view that will catch most events. Choose it deliberately — usually the main approach or the choke point everyone must cross.
Save presets for the other arcs. A named position for the rear gate, one for the parking area, one for the side path. When an alert arrives, a preset gets you looking at the right place in one tap instead of nudging the camera around while the event ends.
Return to the default after every manual look. This is where most coverage is silently lost. Someone checks the back yard on a Tuesday evening, leaves the camera pointing there, and the driveway is unwatched for the next three weeks. If the app offers a timed return or a patrol that cycles through saved positions, use it; if not, make returning to the default part of the habit.
Coverage priorities by property feature
| Feature | Why it matters | Coverage approach | |---|---|---| | Front door and package drop | Highest-frequency event location | Default resting position, framed to capture the approach walk | | Driveway and vehicles | Prowling starts here and is interruptible | Aim along the drive, not across it, so the frame follows the route | | Side gate or alley | The route with no legitimate traffic | Treat as a choke point; a narrow frame here is very effective | | Rear door and yard | Where a second attempt happens | A saved preset plus overnight alert priority | | Detached garage or shed | Contains tools that enable other entry | Cover the approach path rather than the building face | | Parking area entry and exit | Identifies vehicles, which identifies people | Frame the lanes; zoom for plates rather than widening the view |
Height, angle, and the overlap rule
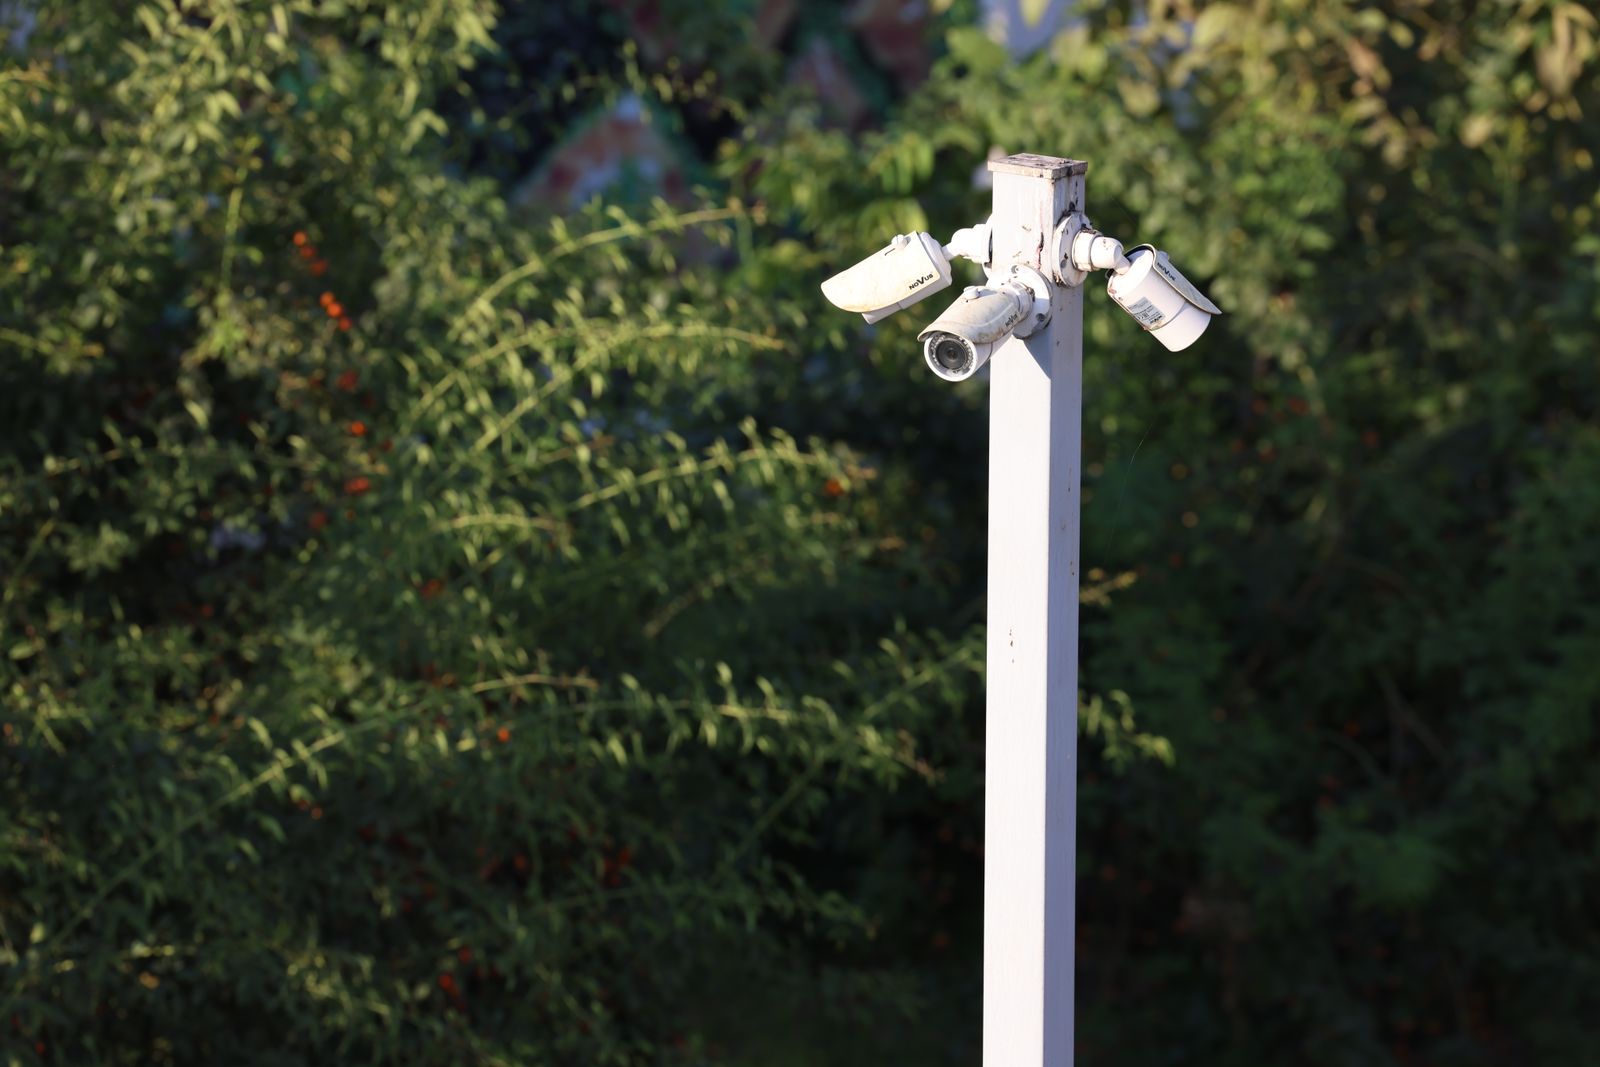
Photo by Xayriddin Baxromxo'jayev on Pexels
Three geometry rules cover most installations. Mount high enough to be out of reach but low enough to capture faces rather than scalps — for a camera whose job includes identification, a downward angle in the range of ten to twenty degrees below horizontal generally works better than a steep look-down. Aim along paths rather than across them, so a person walking the route stays in frame for several seconds instead of crossing it in one. And where two cameras or two saved presets meet, overlap them: the edge of one frame should sit inside the other, because gaps between wedges are exactly where someone ends up standing.
Two further points. Cover the base of the pole or wall that holds the camera with a deliberate downward preset, since that is the classic blind spot and where someone would stand to tamper with it. And decide early whether the camera should be obvious or discreet — visible prevents attempts, discreet documents them, a trade-off covered in the notes on low-profile driveway placement. Before drilling, the installation walkthrough covers mounting surfaces and cable routing.
Placement, recording, and local rules
Widening coverage widens what gets recorded, which has legal implications that vary by country, state, and city. Rules on filming beyond your own property line differ by location, and recording audio is often governed more strictly than recording video. Keep frames on your own entrances, driveway, and approaches; use the camera's pan and tilt limits, and any privacy masking the app provides, so no saved position can be aimed into a neighbor's windows or garden; and never attempt to film inside a neighbor's property. Check the rules that apply where you are before finalizing coverage, particularly on shared driveways, boundary fences, and communal parking. Businesses should also check whether notice must be posted.
FAQ
Can one pan-tilt-zoom camera really cover a whole house? For detection and deterrence on a compact property, often yes. It cannot watch two separate approaches at the same instant, so if you need simultaneous coverage of a front and rear approach, plan on two cameras with one of them fixed.
How high should the camera go? High enough that someone standing on the ground cannot reach it, and no higher than necessary. Excess height flattens the view and costs you facial detail, which is usually the thing you needed most.
What is the most commonly missed blind spot? The ground immediately beneath the camera, followed by the gap behind a parked vehicle. Both are easy to find with a walk test and nearly invisible on a paper plan.
Next step
Sketch your property, trace the three routes an outsider would actually take, and mark the points every route must pass through. Then run a walk test on video — once in daylight, once after dark — and confirm each route stays in frame long enough to identify a person. The gaps that survive that test are the only ones worth spending money on.
Cover photo by Danial ZH on Pexels.