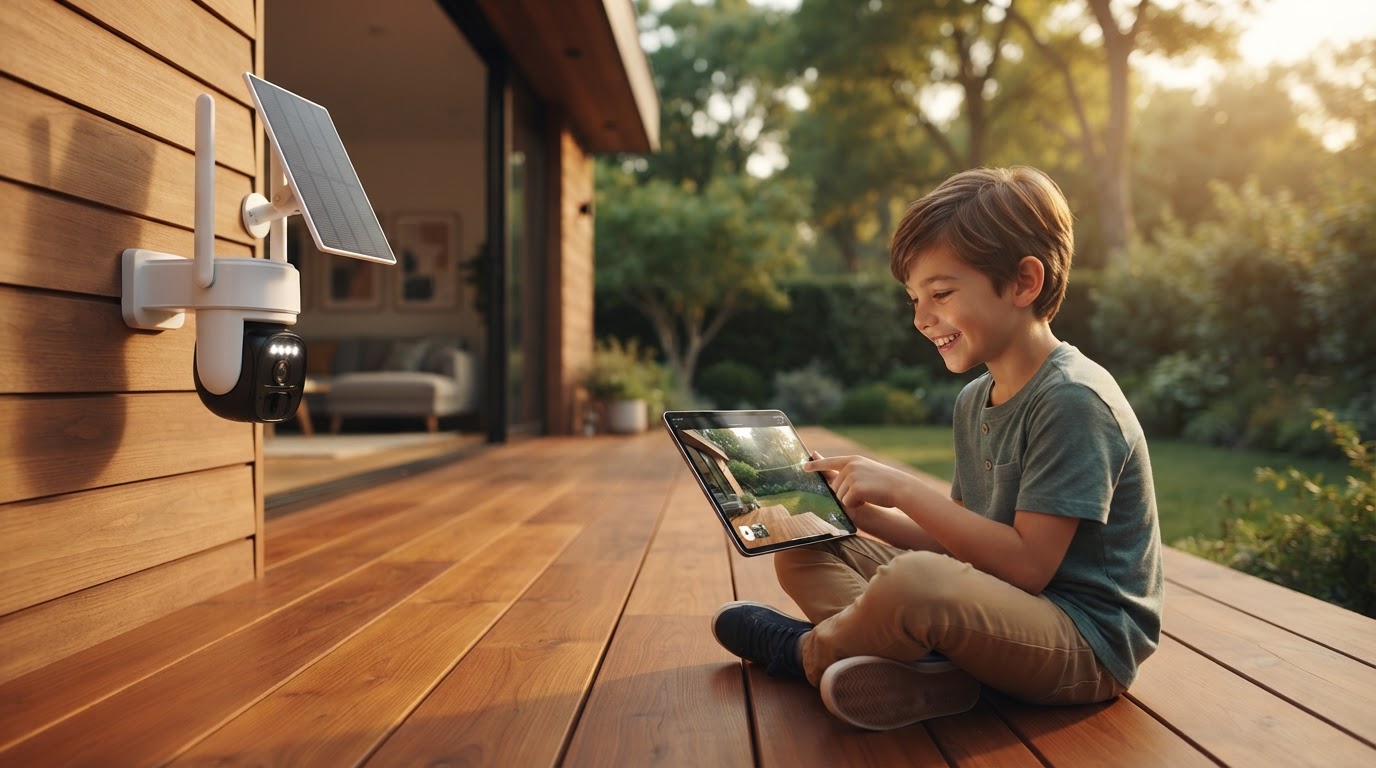
DIY Outdoor Solar Security Camera System Installation
 Priya RamanSenior Analyst
September 18, 2026. This technical overview establishes a structured framework for the self-directed deployment of independent surveillance nodes. It is designed for property owners seeking to implement high-resolution monitoring without the logistical constraints of hardwired electrical infrastructure. The success of a DIY installation depends on a matrix of three critical dimensions: energy harvesting potential, network stability, and physical vantage. Once you see it this way, the process transitions from a series of trial-and-error tasks into a repeatable engineering workflow.
The Infrastructure Gap in Perimeter Security
Traditional surveillance systems often fail at the perimeter due to the prohibitive cost of trenching power lines and data cables. For residential and agricultural users, the primary barrier is not the hardware itself, but the energy required to sustain it. According to Instructables, a standard DIY conversion for a security camera involves sourcing specific battery enclosures, DC jacks, and solar panels to bridge the gap between a standalone unit and a functional system. Without a dedicated power source, high-demand features like 4K resolution or motion tracking become liabilities that quickly drain internal reserves. The problem is compounded in remote environments where Wi-Fi signals degrade or electricity is entirely absent. This creates a security vacuum where vulnerable areas—such as detached sheds or far pasture gates—remain unmonitored. When planning a weatherproof solar camera for farm security, the installer must account for the specific environmental stressors of the site. A common failure point in DIY setups is the lack of a reliable wireless solar powered cctv system that can maintain uptime during consecutive days of low solar irradiance. This leads to intermittent recording gaps exactly when the system is needed most.
Optimizing the Outdoor Solar Security Camera Interface
Implementing an Outdoor Solar Security Camera solves the infrastructure gap by integrating energy production directly into the capture device. The deployment model focuses on the 4G LTE and Wi-Fi connectivity options found in modern hardware, which eliminate the need for local NVR storage in many cases. Two axes matter here: the angle of solar incidence and the proximity to the network gateway. To ensure continuous operation, the integrated solar panel or the tethered secondary panel must be positioned to maximize peak sun hours. As noted in the Soliom user community on Facebook, most solar cameras can be successfully installed under partially covered areas as long as the panel is tilted specifically in the direction of optimal sunlight. The Outdoor Solar Security Camera utilizes high-efficiency photovoltaic cells that feed into high-capacity lithium-ion buffers, allowing for 24/7 monitoring even in winter conditions. For properties with expansive acreage, utilizing a weatherproof solar camera for barn installations requires a specific focus on the 4G LTE solar security camera variant, which carries a 6700-impression demand for its ability to function without a local router. By selecting hardware with integrated motion tracking and night vision, the installer reduces the need for external floodlights, further conserving the energy budget. The installation process is simplified through the use of mobile applications that provide real-time signal strength indicators, ensuring the camera is placed within a viable data transmission zone.
A Decision Framework for System Deployment
Successful DIY installation requires a systematic approach to hardware placement and configuration. Think of it as a matrix of visibility versus accessibility. The camera must be high enough to avoid tampering but low enough to capture identifiable facial features or license plates. The decision rule: prioritize the solar panel's southern exposure (in the northern hemisphere) above all other aesthetic considerations. In a 5-step weatherproof outdoor solar security camera setup, the calibration of the PIR motion sensor is the final step that determines the longevity of the battery life. As demonstrated in technical walkthroughs by creators like those on the YouTube channel 'How to Install 3K CCTV', the transition to wireless eliminates the "stress" of cable management, but it increases the importance of a secure mounting bracket. Before finalizing the installation, verify that the local environment supports the specific wireless protocol chosen, whether it is a standard 2.4GHz Wi-Fi signal or a dedicated cellular SIM card.
Installation Checklist
- Conduct a solar site survey to identify areas with at least 4-6 hours of direct sunlight.
- Test network signal strength at the exact mounting height using the device's native app.
- Secure the mounting bracket to a solid surface (brick, wood, or metal) using weather-sealed anchors.
- Angle the solar panel at approximately 30 to 45 degrees to optimize seasonal light capture.
- Configure motion zones to exclude high-traffic public areas, preserving both privacy and battery.
- Perform a walk-test to ensure the PIR sensor triggers recording at the desired distance.
Shop Outdoor Solar Security Camera here.
Sources
- How to Install 3K CCTV - No Wires , No Stress, Easy Install - YouTube
- Simple Install of SOLAR SECURITY CAMERAS For Our Off ... - YouTube
- How to Solar Power Your Home Security Camera - Instructables