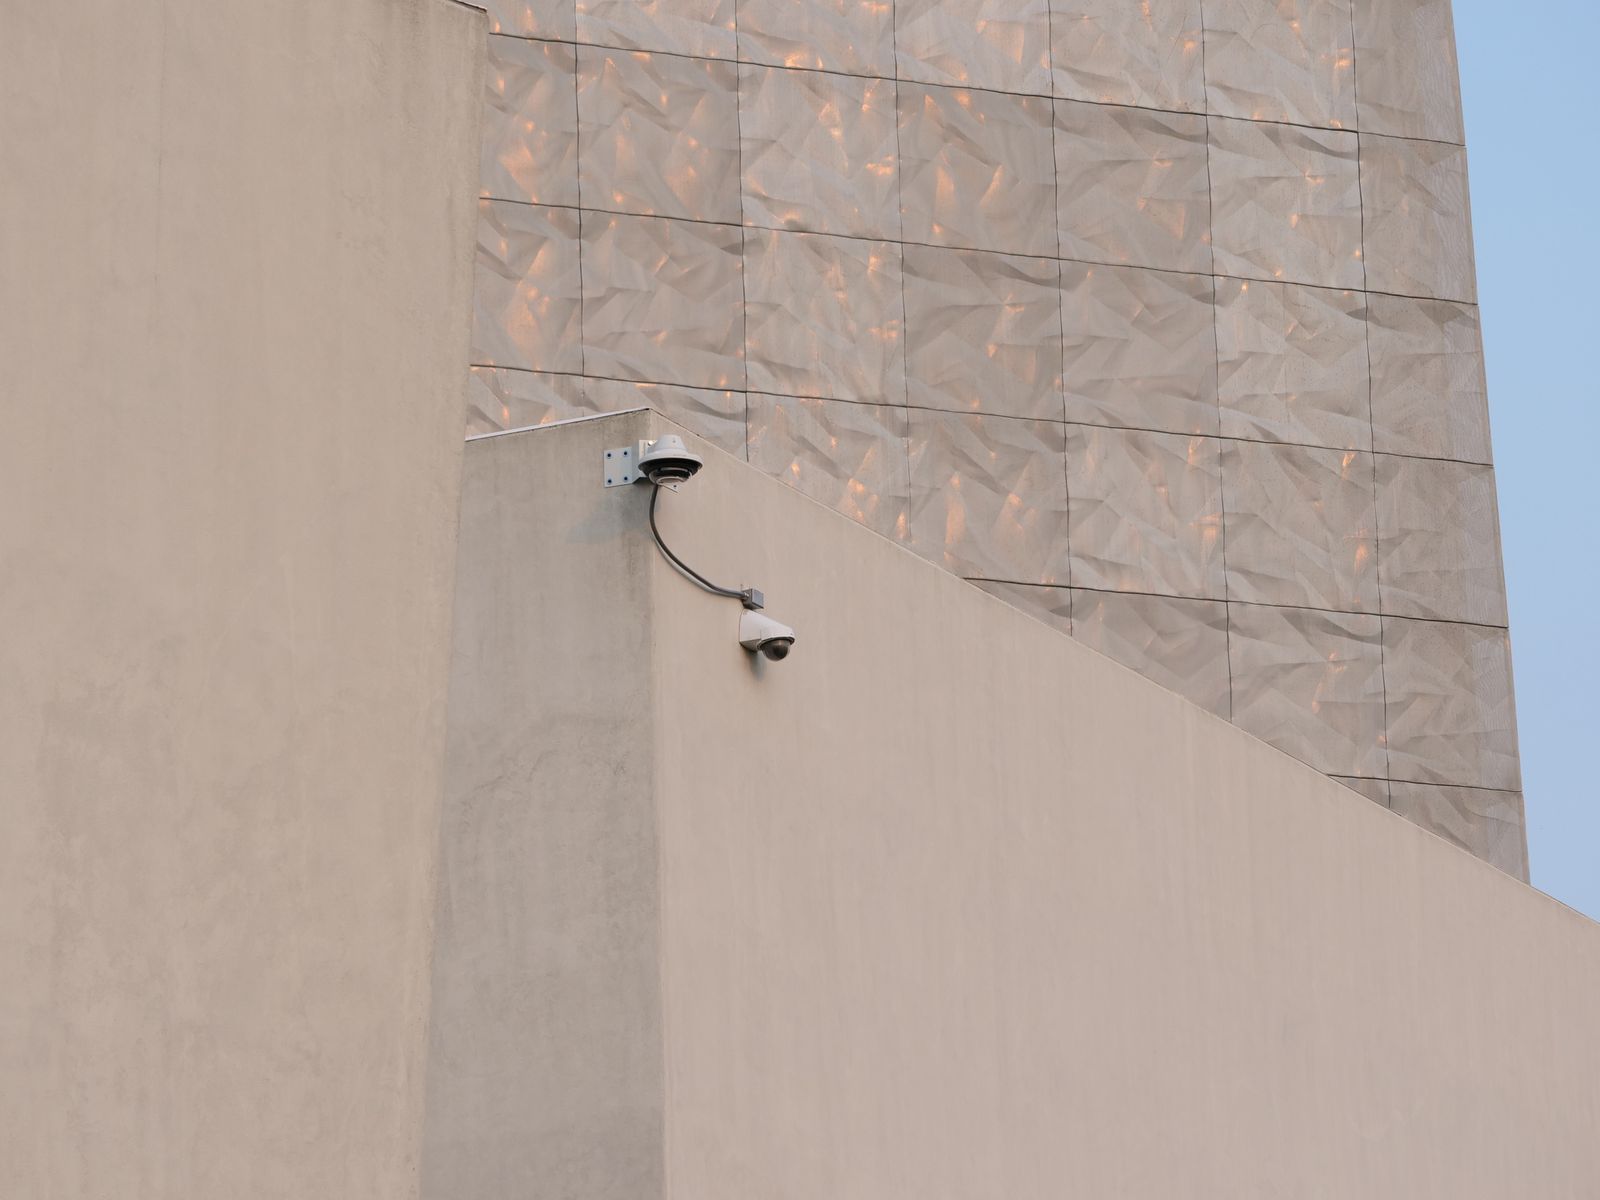
How to Configure Real-Time App Motion Alerts to Prevent False Alarms
False motion alerts are almost never a defect — they are the camera doing exactly what it was told to do, over too large an area, at too high a sensitivity, with no filtering. The fix is a short configuration pass in the app: narrow what the camera watches, reduce what counts as an event, and separate the alerts you need to see immediately from the ones you only need in a log. Done properly, a busy exterior camera goes from dozens of notifications a day to a handful that all deserve a look.
What actually causes false motion alerts?
Outdoor motion detection responds to change in the scene, and the outdoors is full of change that has nothing to do with people. The usual culprits, in rough order of how often they cause complaints:
- Moving vegetation. A branch or tall grass in frame produces a repeating trigger every time the wind picks up, which is why a camera can be quiet for days and then alert forty times in one afternoon.
- Traffic and sidewalk activity. If the detection area extends past your property line to a road or footpath, every passing vehicle and pedestrian is an event.
- Light and shadow transitions. Sunrise, sunset, headlights sweeping a wall, and clouds crossing the sun all change the whole frame at once.
- Rain, snow, and insects near the lens. Anything close to the camera occupies a large share of the frame and reads as large, fast motion. Insects drawn to the camera at night are a common cause of overnight alert floods.
- Pets and wildlife. Small, fast, low-to-the-ground movement that the camera has no reason to treat differently from a person.
- Sensitivity set to maximum by default. Many installs are never adjusted after the first day, when everything is deliberately turned up so the owner can confirm the camera works.
The controls that actually change alert volume

Photo by Valentin Ivantsov on Pexels
Control names differ between apps, but the underlying settings are consistent across outdoor cameras. These are the ones worth your attention, roughly in order of impact:
- Activity or detection zones. Draw the area the camera should care about and exclude everything else. This is the single most effective control and it is the one most often left untouched.
- Sensitivity. Governs how much change is required to trigger an event. Lower values ignore small and distant movement.
- Object or person filtering. Where available, restricts alerts to human-shaped motion and suppresses animals and vehicles.
- Notification versus recording. Many systems let the camera record an event without pushing a notification. Use this for low-priority zones so you keep the footage without the interruption.
- Cooldown or retrigger interval. Sets a minimum gap between alerts so one long event does not generate a stream of them.
- Schedules. Different rules for business hours, after hours, and overnight. A driveway that should be quiet at 3 a.m. does not need the same sensitivity it needs at noon.
- Geofencing or arm/disarm modes. Suppresses alerts for your own comings and goings.
Step by step: a one-hour tuning pass
A starting point by property type
| Property | Detection zone | Sensitivity | Notifications | |---|---|---|---| | Suburban driveway | Apron and vehicle approach only, road excluded | Medium, lower if street-facing | Immediate, with a retrigger gap | | Front entry and package drop | Walk plus the step area | Medium to high | Immediate | | Fenced back yard | Inside the fence line only | Low to medium | Record-only, review daily | | Side gate or alley | The gate and one stride either side | High | Immediate, overnight priority | | Small business rear door | Door, landing, and dumpster approach | High after hours, low during trading | Scheduled by hours | | Parking area | Entry and exit lanes, not the full lot | Medium | Immediate after hours only |
These are starting points, not final values. The number that matters is how many of yesterday's alerts you were glad to receive; adjust until that ratio is comfortably above half. For a deeper treatment of the hardest case, see the guidance on motion detection for driveways, which is where street traffic and legitimate arrivals overlap most.
How pan, tilt, and zoom changes the picture
A fixed camera has one frame, so one set of zones is enough. A camera with pan, tilt, and zoom can be looking at several different scenes, and a zone drawn for one position does not describe the others. Two practical consequences follow. First, decide on a default resting position and tune your zones for that position, so the camera returns to a known, well-configured view after any manual movement. Second, expect that manually panning to check something can leave the camera pointed somewhere its motion rules were never designed for — a common reason alerts suddenly go quiet or suddenly flood after someone used the live view.
Zoom has a related effect. A zoomed-in view makes distant motion occupy more of the frame, so the same physical movement reads as larger and triggers more readily. If you zoom in for detail, re-check sensitivity at that position.
Zones, privacy, and what to exclude on purpose
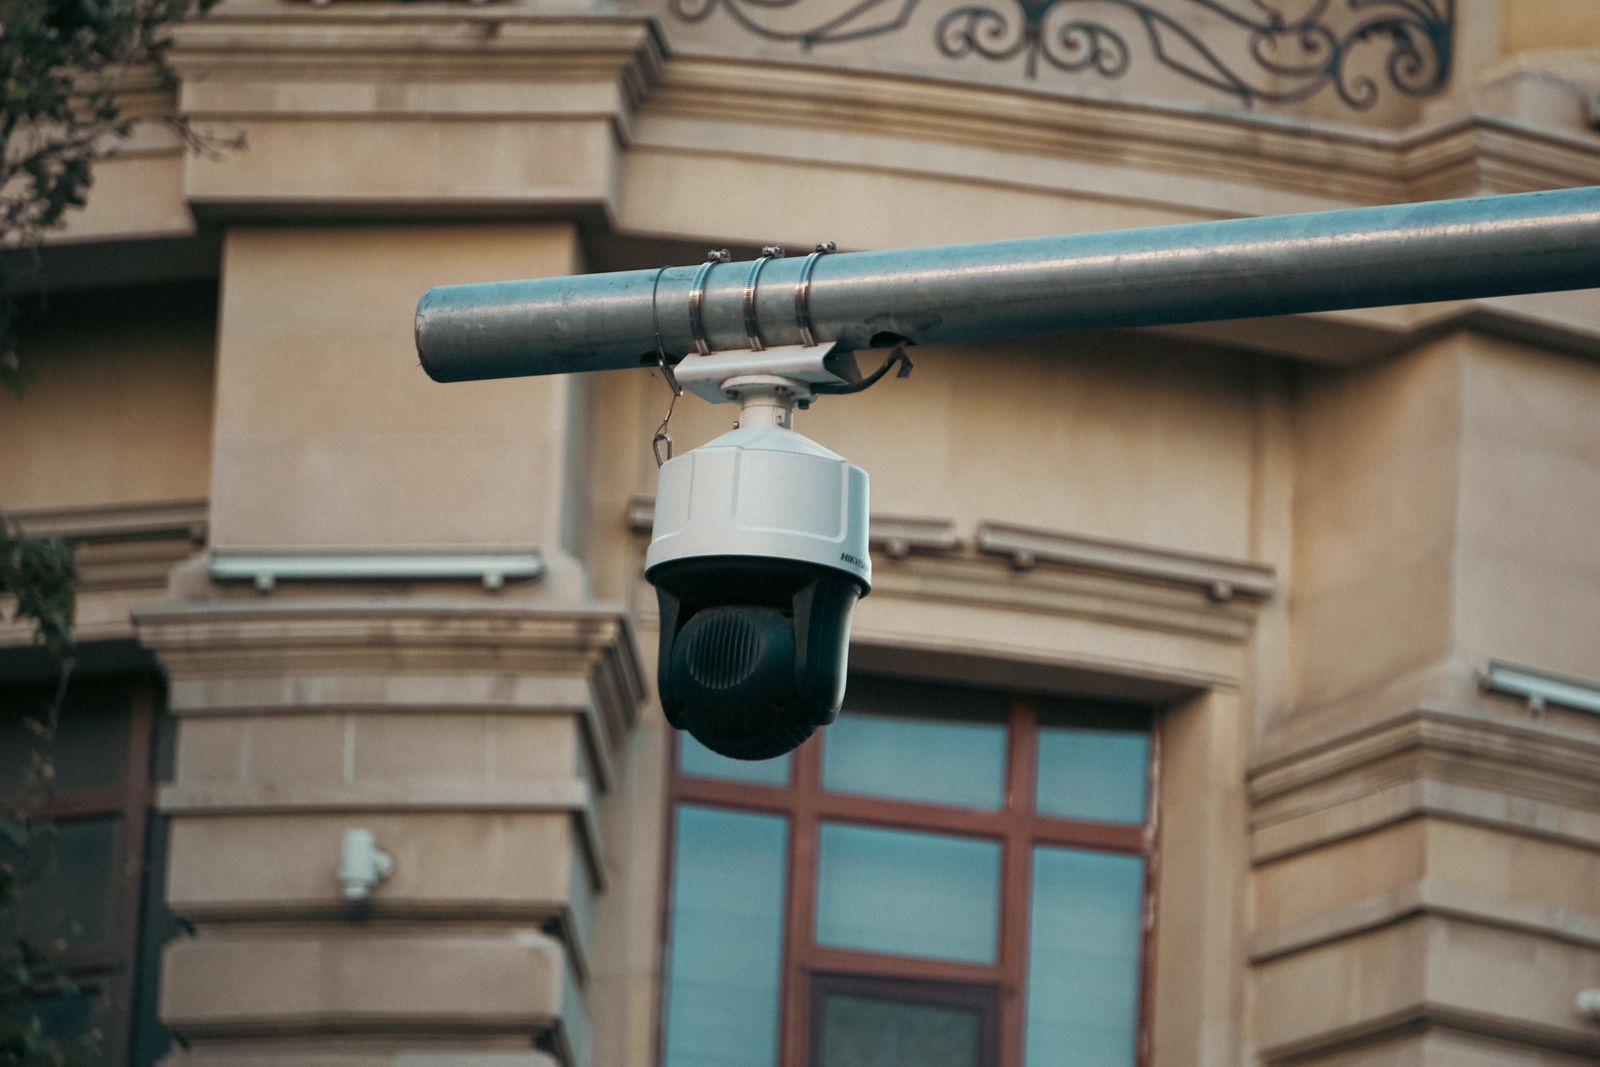
Photo by Elmir Jafarov on Pexels
Detection zones are a privacy tool as much as a noise-reduction tool. Laws on filming areas outside your own property vary by location, and some jurisdictions treat recording a neighbor's windows, garden, or interior very differently from recording your own driveway. Keep neighboring property outside the frame where you can, use pan and tilt limits so a saved position cannot be pointed into someone's home, and never attempt to film inside a neighbor's property. Audio is often governed by separate and stricter rules than video. Check what applies where you are before you finalize placement, and post notice if your local rules require it for a business.
How to know the tuning worked
Three signals, in order of reliability. Alerts you act on as a share of alerts received should rise — that is the real measure. Overnight alert count should fall close to zero on quiet nights. And your own behavior should change: if you have stopped swiping notifications away without reading them, the configuration is working. If alerts have dropped but you have also stopped trusting the camera to catch anything, sensitivity went too low, and a walk test will show it immediately. Sites monitored by more than one person benefit from writing the rules down; the approach in setting up remote monitoring for an office covers who watches what and when.
FAQ
Will lowering sensitivity make the camera miss a real intruder? It can, if you lower it far enough that a person walking at the edge of the zone no longer registers. The safeguard is a walk test after every change: walk the approach path at normal speed and confirm you get an alert. If you do, the setting is safe.
Why do I get a flood of alerts only at night? Usually insects near the lens, which are attracted to the camera and read as very large motion because they are very close. Moving the camera slightly away from a light source, or reducing sensitivity on the overnight schedule, resolves most cases.
Should I turn off notifications instead of tuning them? No. That leaves the recording in place but removes the part that lets you respond while something is happening. Reducing which zones notify you is a better trade than silencing the camera entirely.
Do false alerts affect battery or storage on a solar camera? Yes. Every triggered event wakes the camera, records, and uploads, so a camera generating fifty nuisance events a day is spending real power and storage on wind in a hedge. Tuning zones improves runtime as a side effect.
Next step
Before adjusting anything, spend one day logging your alerts and noting which ones mattered. The dominant cause will be obvious, and it will point at one setting — usually the detection zone. Fix that one thing, wait two days, and re-check the log. Reliable identification of whoever does trigger the camera depends on the image as much as the alert, which is covered in the notes on color night vision reliability.
Cover photo by Giant Asparagus on Pexels.