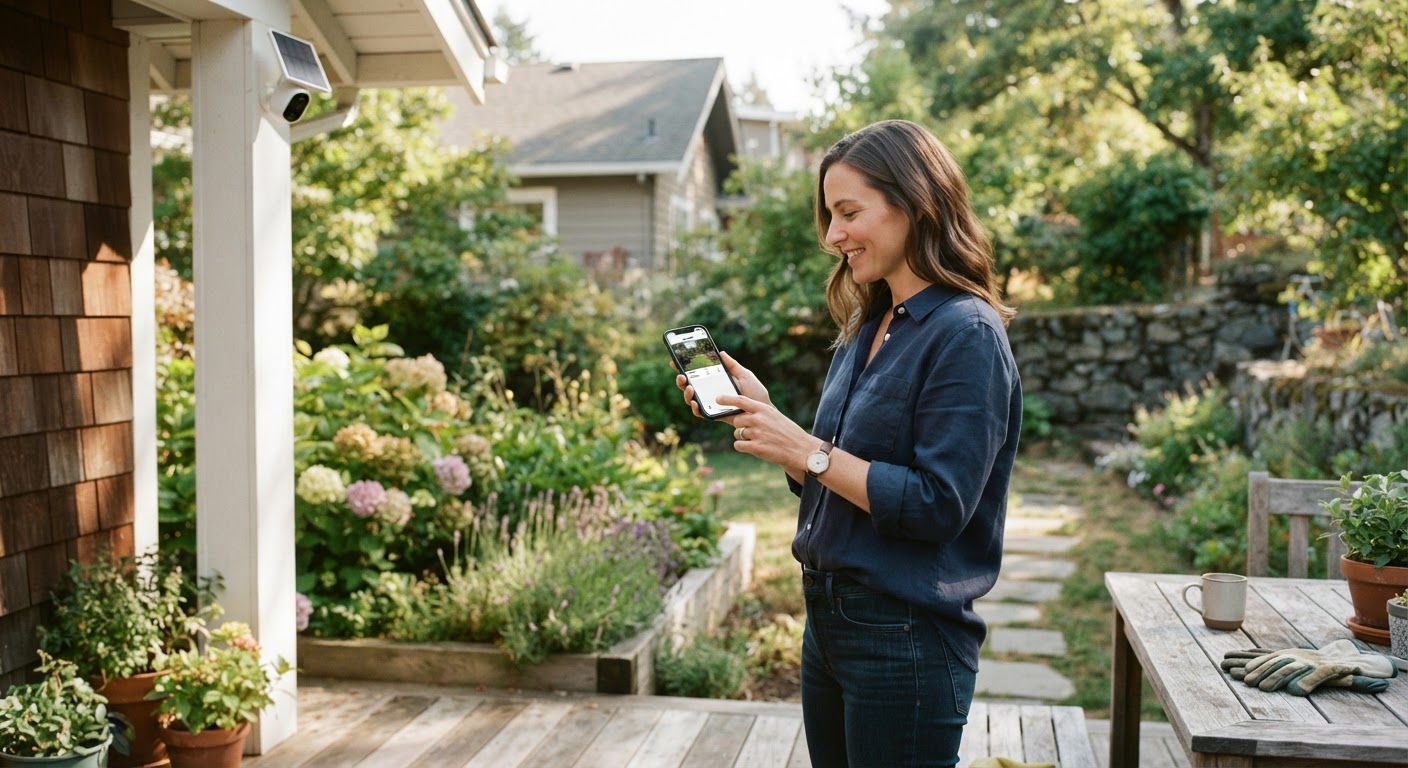
How to Install an Outdoor Solar Security Camera for Optimal Sun and Coverage
Step 1: Perform Initial Battery Preparation
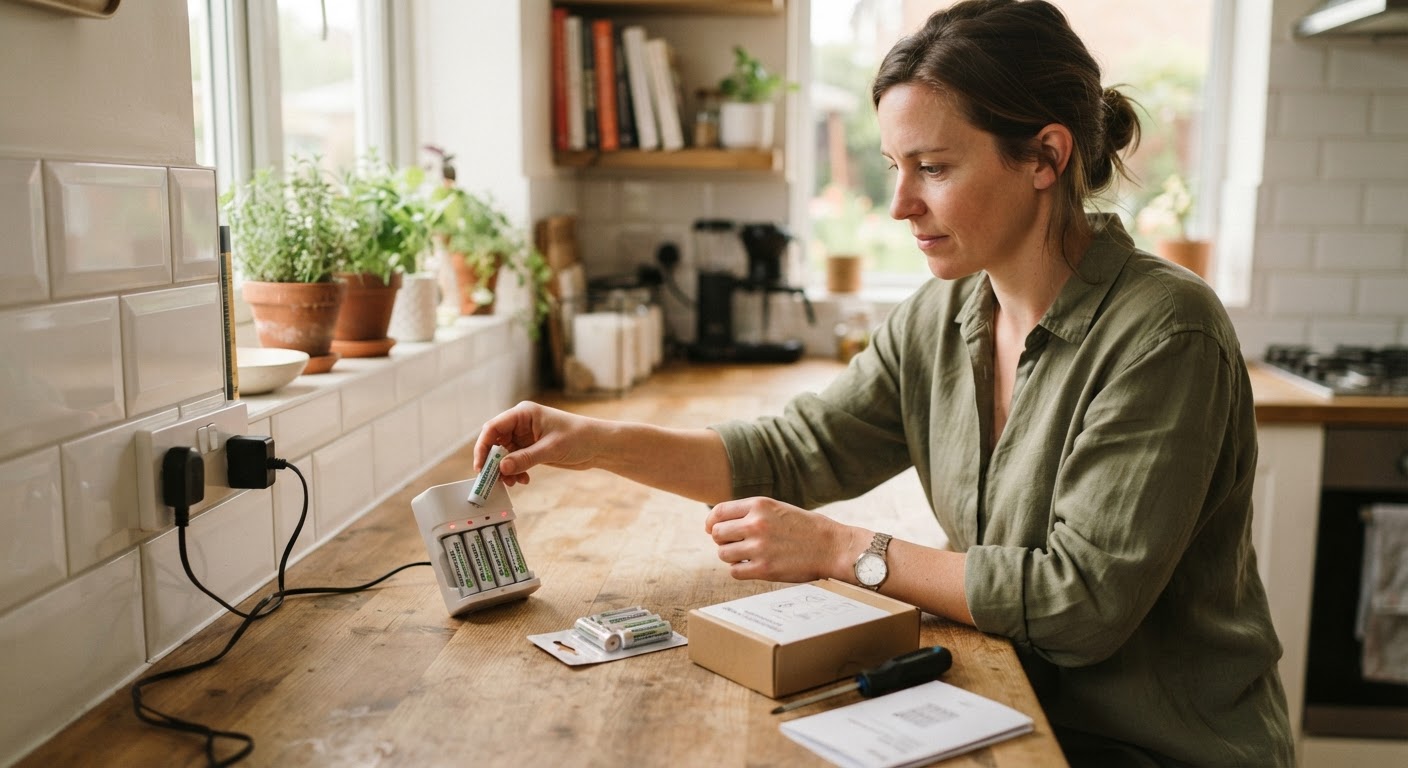
Before mounting hardware outdoors, charge the internal power cell manually using a USB adapter. Ensure an initial charge time of 8-10 hours to bring the 5200 mAh battery to full capacity before relying on solar maintenance. For full architectural guidance, consult [the main guide]. Charge it fully from the mains before mounting, and expect that to take several hours. A solar panel is designed to maintain a charge rather than to build one from empty, so a camera mounted at half charge in November may never catch up and will simply fail overnight when you most want it working.
While it is on the bench, do the rest of the indoor setup at the same time: firmware update, wi-fi connection, time zone, camera name, and alert recipients. Every one of these is easier at a table than on a ladder.
Many cameras also ship with a pull tab or transit switch isolating the battery. If nothing happens when you press power, check for that before concluding the unit is faulty. It is by far the most common reason a new camera appears dead out of the box.
Step 2: Select the Ideal Mounting Location
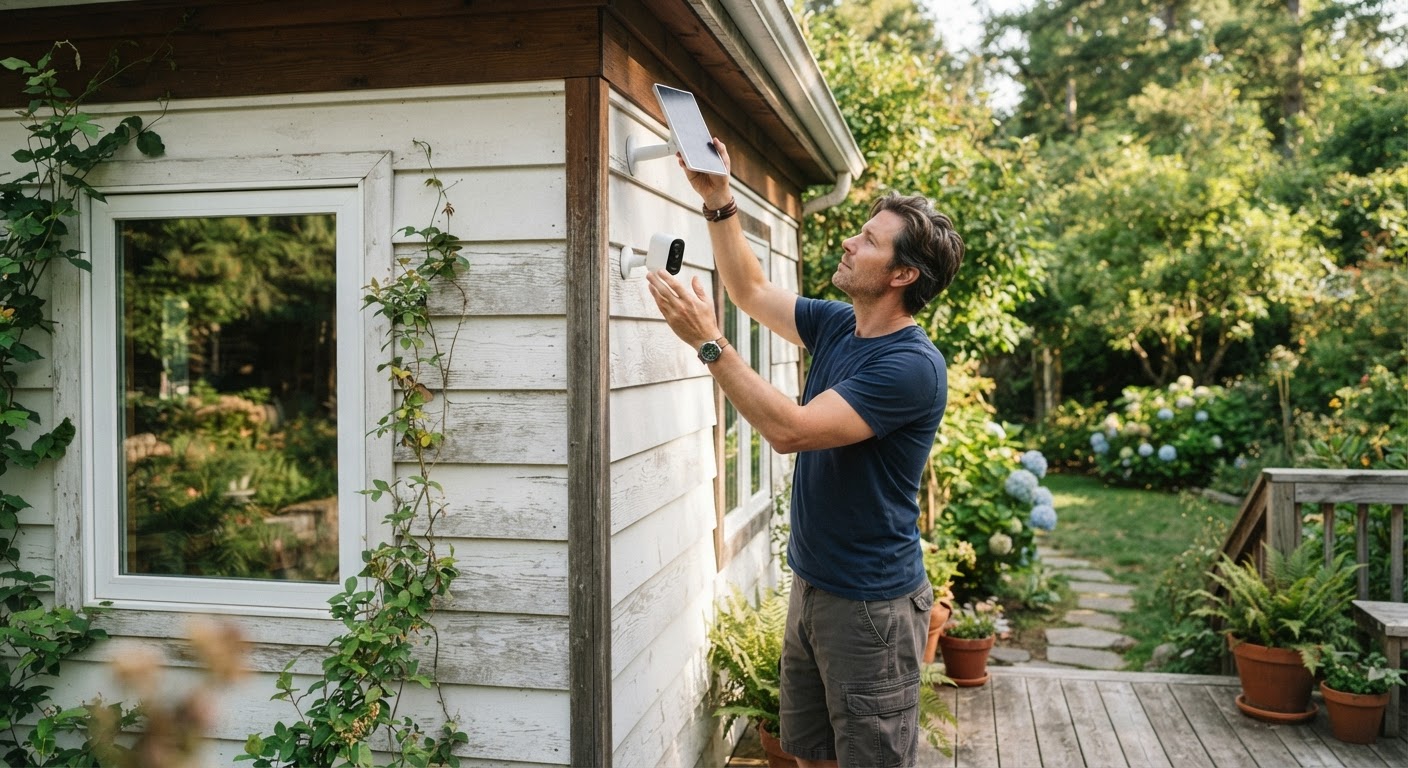
Choose an installation spot that balances property visibility with sunlight access. For optimal security coverage and physical safety, install hardware at a recommended installation height of 8-10 feet above ground level.
Ensure the integrated 3.5W solar panel receives 3-5 hours of direct sunlight each day without obstruction from roof eaves or foliage. Additionally, check that your mounting spot receives strong wireless WiFi connectivity. Three requirements have to be satisfied at once here, and they often pull in different directions: sun for the panel, a useful view for the camera, and adequate wi-fi signal. Compromising on any one of them produces a specific and predictable failure.
For sun, watch the position across a full day and note when it falls into shadow. Face the panel toward the equator, allow for eaves and porch roofs shading it at midday, and judge trees at their summer size rather than their winter one.
For coverage, height between two and a half and three metres is the usual sweet spot: high enough to be out of easy reach, low enough that faces are recognisable rather than viewed from directly above. Point it across an approach rather than straight down at it, since motion detection is far more reliable for movement crossing the frame than for movement coming directly toward the lens.
For signal, hold a phone at the exact spot and check. Marginal signal is the leading cause of missed clips.
Two things to avoid: aiming at a public pavement or a neighbour's windows, which raises real privacy issues in most jurisdictions, and pointing the lens at a bright light or into the low sun, which will wash out the image at exactly the wrong time of day.
Step 3: Mount the Bracket and Camera Hardware
Using the provided mounting template, drill pilot holes into exterior brick, wood, or siding. Fasten the mounting bracket securely using weather-resistant screws. Attach the camera body and position the solar panel directly toward peak daily sunlight.
Thanks to its IP65 weatherproof rating, the housing withstands outdoor elements including rain, wind, and ambient dust. Fix to something solid. Brick and block need a masonry bit and plugs; timber takes screws directly; render needs a bit long enough to reach the substrate behind it. Fascia boards and thin cladding often will not hold a camera through years of wind, and a camera that works loose slowly ends up pointing at the ground.
Seal the fixings on a wall that faces weather. A small bead of exterior sealant behind the bracket keeps water from tracking into the holes you have just drilled, which matters more on an older wall than a new one.
Angle it slightly downward so rain runs off the lens rather than sitting on it, and so the housing shades the lens from direct sun. If there is a separate panel on a lead, aim the panel for sun and the camera for coverage independently, since that separation is the main advantage of a two-part unit.
Tighten fully, then check again after a few weeks. Brackets settle, and a camera that has drifted a few degrees is a camera watching the wrong thing.
Step 4: Configure the App and Test Motion Coverage
Open the Tuya Smart app on your phone and complete pairing over your local network. Test the camera pan angle of 355 degrees to ensure broad property coverage across driveways or entrances.
Finalize setup by verifying color night vision functionality up to a night vision range of 33 feet, ensuring your property stays secure day and night.
Read the full guide: Complete Guide to Outdoor Solar Security Cameras: Installation, Features, and Setup
Getting the motion settings right is what determines whether the system is useful or ignored, and it matters for battery life as much as for alerts. Every recording costs power, so a camera that fires on every passing car drains itself and buries genuine events in noise.
Start by drawing detection zones that exclude the road, the pavement, and any tree or shrub that moves in wind. Then walk the area yourself at normal pace, in daylight and again after dark, and check what actually triggers. Adjust sensitivity down until traffic and foliage stop firing while a person walking still does.
If the camera offers person detection rather than generic motion, use it. It is the single most effective setting for reducing false alerts.
Check the night image while you are at it, particularly for glare from a nearby security light or reflection off a white wall, both of which wash out infrared. And test the alerts reach your phone, since a camera that records perfectly but never notifies anyone is doing half a job.
Then leave it a week and look at the battery trend. A charge level that recovers each day is a system in balance; one that falls steadily means the detection zone is still too generous for the sunlight available.